Using CrafterCMS. Github and Two-Factor Authentication
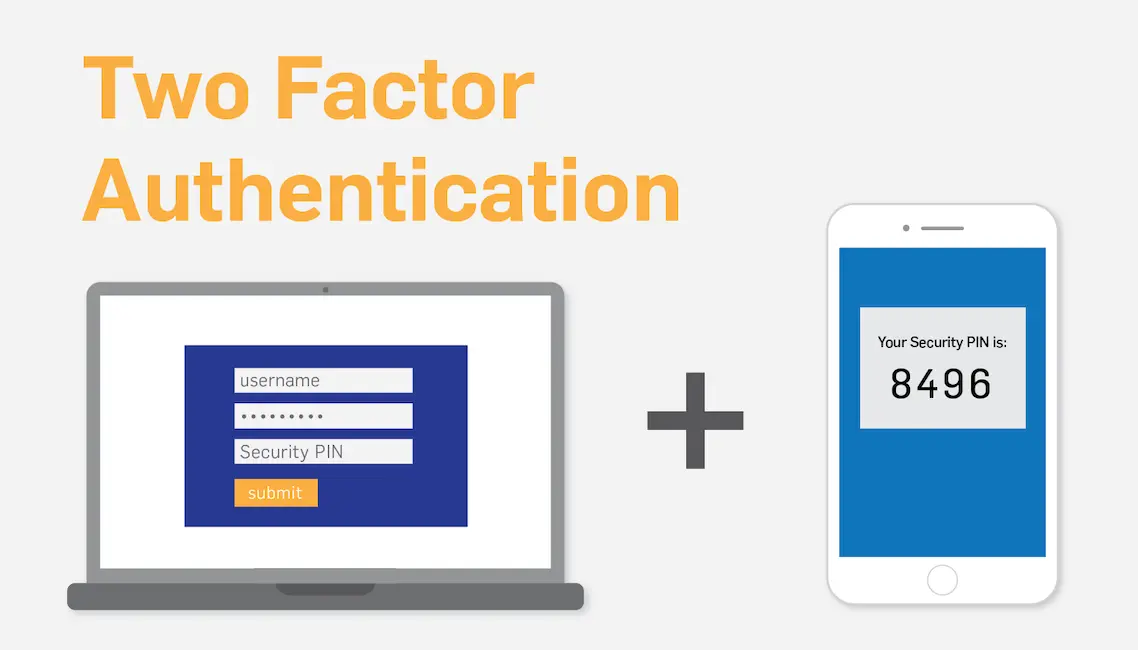
Crafter’s Git based CMS supports developers working against remote repositories like Github, Gitlab, Bitbucket, and others. Many organizations that use Github enforce a two-factor authentication for developers. This article shows you how to create a site in Crafter when you have two-factor authentication in Github configured.
Step 1: Configure an Access Token in Github
If you are reading this article, it’s very likely you already have two-factor authentication configured and are using it with Github. If you’re interested in setting it up you can learn more about that here:
https://help.github.com/articles/securing-your-account-with-two-factor-authentication-2fa/
The first step in getting Crafter Studio to work with Github when two-factor authentication is enabled is to create a personal access token. Follow the instructions shown here to create and acquire your token: https://help.github.com/articles/creating-a-personal-access-token-for-the-command-line/
Step 2: Create a Site based on a Remote Repository
- If CrafterCMS is not installed: Install it locally (Source build or Binaries bundle)
- Login as Admin user
Next, you want to log in to Crafter Studio as the admin user. The admin user has the rights to create new projects (called sites.) Click Create Site.

Figure 1: Create site via Crafter Studio
Clicking Create Site will present you with the Create Site dialog. This dialog changes depending on what you choose. Below is an example of the dialog filled out in a way that creates your project locally based on an upstream repository that becomes it’s remote.
Let’s walk through each part of the dialog:
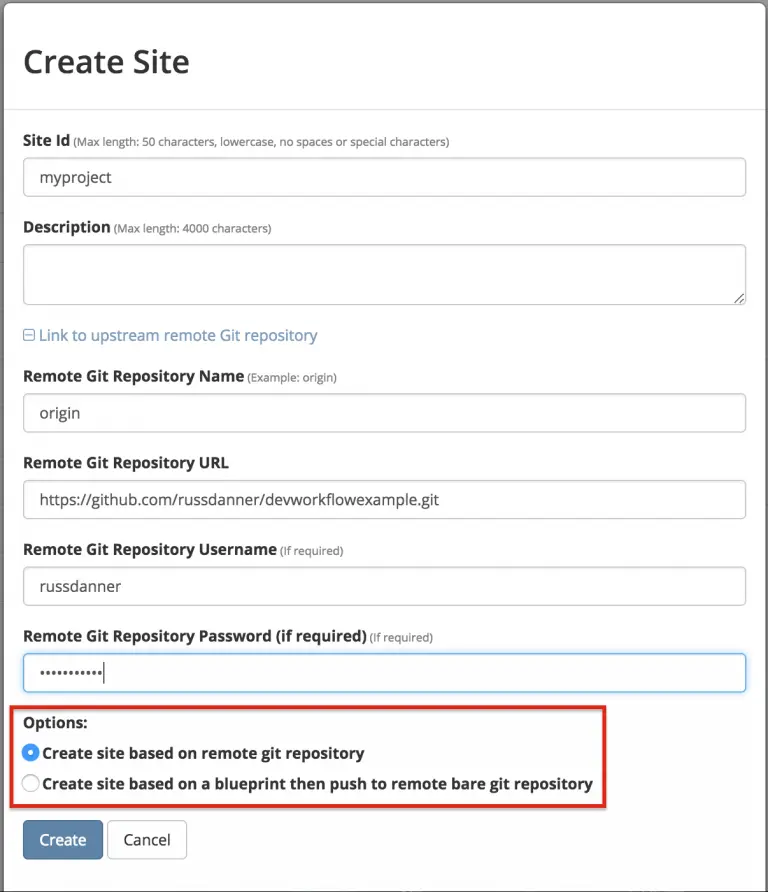
Figure 2: Set up a project based on existing remote Git repository via Crafter Studio
- The first thing you need to do is give your site an ID. The ID itself doesn’t matter in a sense. It doesn’t need to match anything per se, technically speaking the only requirement is that it’s unique. That said, it’s a best practice to provide an ID that is meaningful/recognizable to the team. If your website is called FreshFlowers.com a good ID might be “freshflowerscom”
- Next, because you plan to connect this project to an upstream repository you want to click the plus (+) on “Link to upstream remote Git repository” This will open a number of new fields.
- In the “Remote Git Repository Name” field you want to provide a repository name that makes sense. It’s common to use “origin” or “upstream.”
- In the “Remote Git Repository URL” field you must provide the link to the Git repository discussed in Step #1: https://github.com/russdanner/devworkflowexample.git
- Provide your credentials in Git Remote Repository Username and Password
USE THE PERSONAL ACCESS TOKEN - Choose the option: “Create site based on remote git repository.” This means that Crafter Studio will create a new site by cloning the upstream repository locally and setting the upstream repository as a remote.
- Click Create. CrafterCMS will create the local repositories, Solr core and internal data structures required to support the project and pull in the project from the remote.