A filter in Crafter is a Groovy-based controller that allows you to intercept inbound requests for content and API responses and dynamically apply rules, modify the request or transform the response. A Crafter Filter has the same interface and mechanics as a Java J2EE Servlet Filter. Some examples of filter use are:
- Apply security rules: Check for SAML2, siteMinder or other security tokens before allowing the request to proceed.
- Active Record: Example: before serving the requested resource, look up and load the user’s profile into the request so it is available to all components of the system.
- Apply compression: Gzip all of the data returned by the requested resource (page, API, etc)
In this article, we’ll learn the specific mechanics of creating and configuring a filter in CrafterCMS.
Step 1: Create the controller
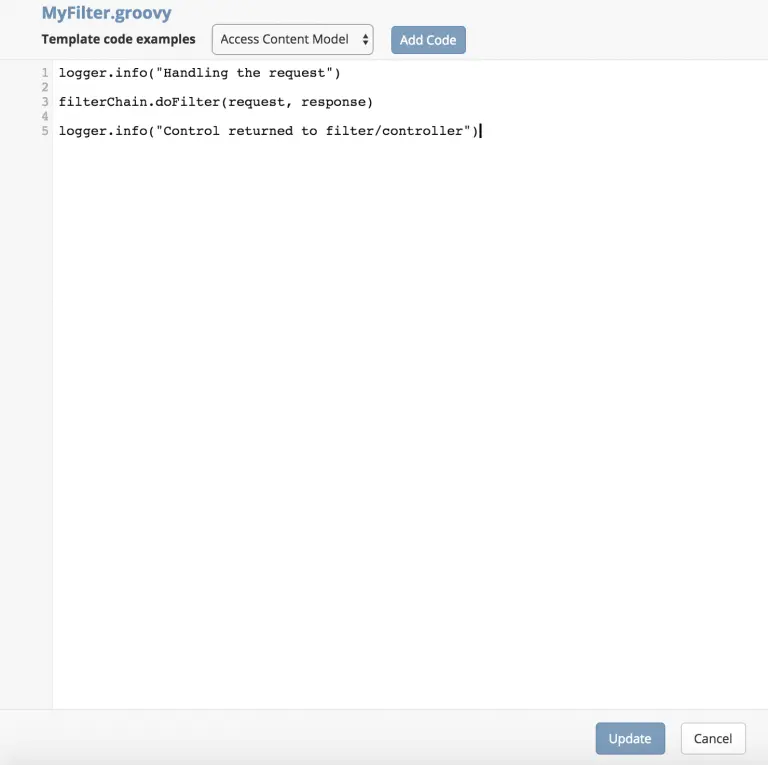
Let’s start simple. We’ll create a controller that prints a message before processing the request (or subsequent filters in the chain) and a message after control is returned to the filter.
Here’s the code.
 logger.info("Handling the request")

filterChain.doFilter(request, response)

logger.info("Control returned to filter/controller")
Yep, that’s it! It’s that simple. The key is that you can put code before and after doFilter. That code can do just about anything. Typically it’s actions like inspecting the request and making decisions, modifying the request for further downstream processing wrapping the response object.
Step 2: Install the filter in the CMS
Now let’s install the controller into the CMS/project. With developer or user role your CMS sidebar should contain a folder called scripts:
![]()
2.1: Right-click on the scripts folder and click “Create Folder.” Enter “filters” as the folder name.
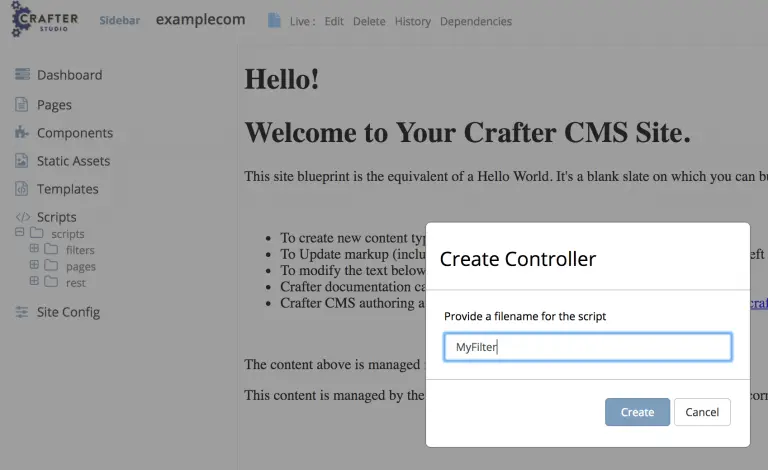
2.2: Right-click on the new filters folder and click “Create Controller” Enter “MyFilter” as the name and click “Create”
2.3 Add the code from above and click “Update.”
At this point, you should see your filter in the Sidebar and we’re ready to configure it to run when a user requests a resource.
Step 3: Configure the filter to execute
Now we need to tell the filter which resources to execute for by configuring the order of execution, the URL resource patterns it should execute on and the request method types that it should apply to. To do this we modify the Crafter Engine /Config/site.xml
3.1 Add the following filters tags to your site.xml. This will run your filter on every kind of request for all URLs.
<?xml version="1.0" encoding="UTF-8"?>

    <filters>
        <filter>
            <script>/scripts/filters/MyFilter.groovy</script>
            <mapping>
                <include>/**</include>
            </mapping>
        </filter>
    </filters>
Once the Engine config is updated we have to tell Crafter Engine to reload it. To do this execute this simple API: http://localhost:8080/studio/preview/#/?page=/api/1/site/context/rebuild.json
Step 4: Test
Since our simple example prints messages into the log, you will need to “watch” your log files. The log is located at INSTALL_DIRECTORY/logs/tomcat/catalina.out.
4.1: In the console, watch the logs by printing it out in as it is appended:
tail -f ./logs/tomcat/catalina.out
4.2: Simply reload a page: http://localhost:8080/studio/preview/#/?page=/
4.3: You should see your log entries in the log file every time you view a page or access any other resource.