CrafterCMS: Custom Styles in Your RTE
CrafterCMS’s Rich Text Editor (RTE) applies your styles right in line. There’s no need to save and preview before you can see your changes. Along with that, administrators want to be able to configure what styles authors can apply.
Each RTE can be configured independently.
To configure your styles, take the following steps:
- Go to the Site Config console for your project.
To configure the RTE, within the Site Config console, select configuration and choose RTE configuration from the drop-down.
In the specific “setup” for your RTE, add the styleFormats tag with the configuration you require. Example:
<styleFormats>
<![CDATA[
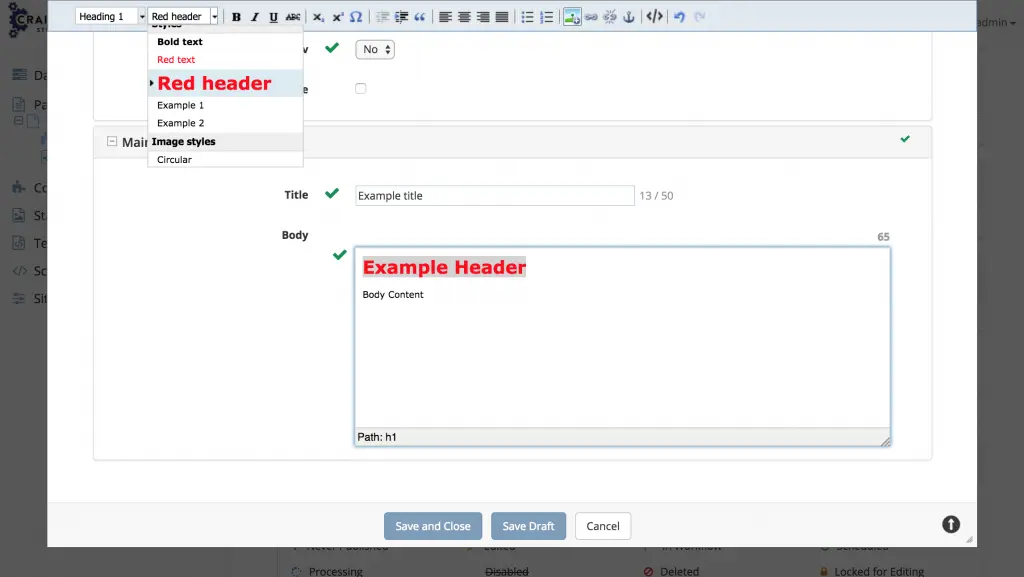
[{title : 'Bold text', inline : 'b'},
{title : 'Red text', inline : 'span', styles : {color : '#ff0000'}},
{title : 'Red header', block : 'h1', styles : {color : '#ff0000'}},
{title : 'Example 1', inline :'span', classes : 'example1'},
{title : 'Example 2', inline :'span', classes : 'example2'},
{title : 'Image styles'},
{title : 'Circular', selector : 'img', classes : 'img-circ'},
{title : 'Table styles'},
{title : 'Table row 1', selector : 'tr', classes : 'tablerow1'}]
]]>
</styleFormats>
Note the ability to create categories in the example above. Taking time to organize the styles for authors is extremely helpful to them.
Now add style select to the toolbar
<toolbarItems1>
 formatselect, styleselect,|,bold,italic,underline,strikethrough,|,sub,sup,charmap,|,outdent,indent,blockquote,|,justifyleft,justifycenter,justifyright,justifyfull,|,bullist,numlist,|,managedImage,link,unlink,anchor,|,edithtml,|,undo,redo
 </toolbarItems1>
Once you save the configuration, open your content and test. Your updates will be present.