CrafterCMS also supports language-specific (e.g. Java, Groovy, Javascript, .Net, etc) and framework-specific (Angular, React, Vue, etc) bindings. These bindings make the programming model not just simple but native to the language or framework. Using RESTful APIs is easy but native bindings further reduce programming time and complexity by simplifying and reducing the code required to get the job done.
In this blog, we will focus on the language-specific bindings for Javascript, the CrafterCMS Javascript SDK. These bindings can be used in any client side (e.g. a browser-based application) or server-side (e.g. Node.js) applications.
The High-level Architecture
Before we get into the specifics of the Javascript SDK let’s quickly review the architecture. Below is a diagram that illustrates how the SDK works in your Javascript application with Crafter Engine and other CrafterCMS components to deliver managed content to your application.
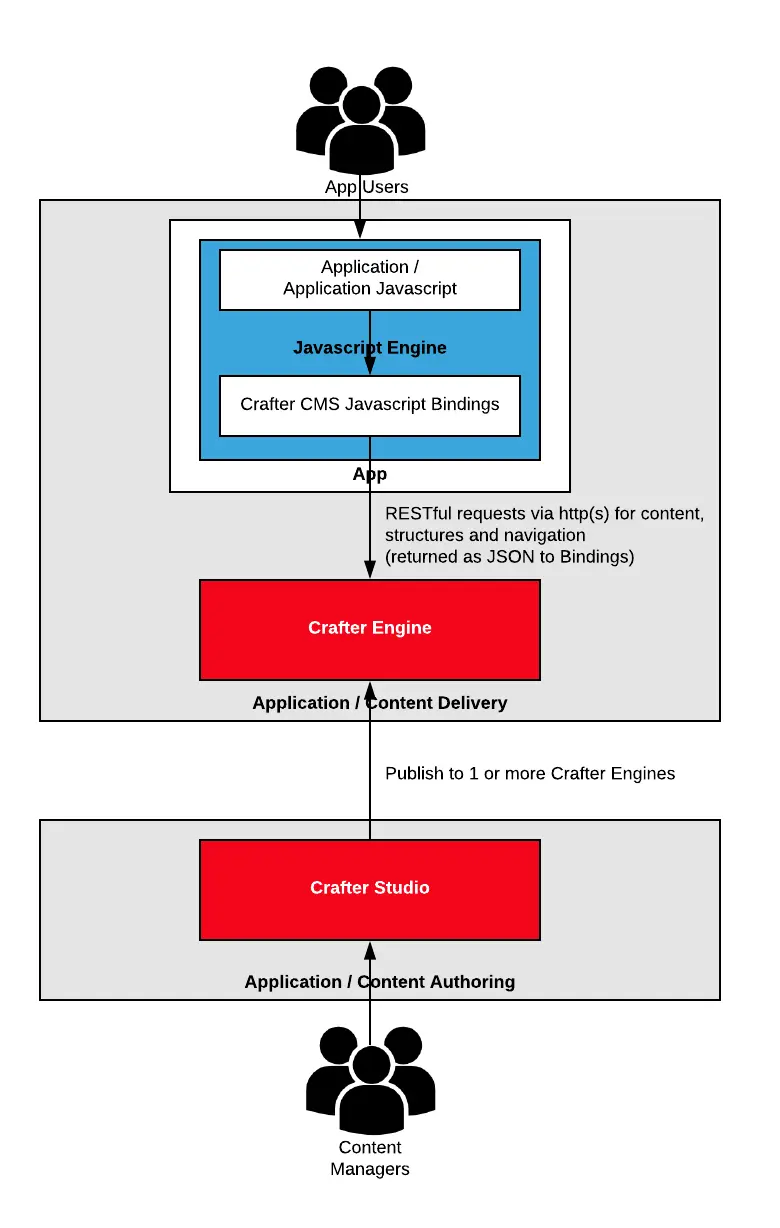
You can learn more about the overall architecture of CrafterCMS here. In the diagram above we illustrate the following:
- Authors work in Crafter Studio (a web-based application) to create and manage content. Crafter Studio provides authors with the tools they need to make updates, perform workflows and publish. Approved updates can be published to Crafter Engine(s) for content delivery at any time via the UI without any technical assistance.
- Crafter Engine exposes content, navigation, and structures via RESTful services that are available over HTTP(s). Content and data are returned to the caller as JSON.
- The caller in this architecture is CrafterCMS’s Javascript bindings library which is making requests on behalf of the application.
- The CrafterCMS Javascript SDK provides the application code with Javascript based interfaces and classes to interact with. There’s no need for the application code to concern itself with REST, JSON and other lower level concepts.
Pre-requisites for Using the Library
- NPM / Yarn installed
- The SDK releases are published to Node Package Manager (NPM.) Example: https://www.npmjs.com/package/@craftercms/content
- NPM will help you easily download the proper dependencies. You can all so use NPM or Yarn to build and execute your application.
- In our example, I will use Yarn to manage my package.json file and to assist me in building my application.
- Access to a running Crafter Engine instance and site.
- You may need to configure the site due to CORS (Cross-Origin Resource Sharing constraints within browsers) to allow requests from your application if the app and Crafter Engine are running from different base domains. We’ll explain this further later.
Building a Simple Javascript Application
The point of our application in this blog is to demonstrate how to include and use CrafterCMS’s Javascript SDK in an application and to use it to retrieve content from a running Crafter Engine instance. We’re going to keep the application extremely bare bones in order to illustrate that this library is independent of any specific frameworks or platforms such as Node.js, React, Angular6, Vue etc.
For those looking to get right into the meat of the integration, use of the SDK starts at Step 4.
Step 1: Create a basic structure and build for the app
The first thing we want to do is to create a directory for our application source. I will call my directory simple-js. Inside that directory add a file called package.json with the following content:
1 2 3 4 5 6 7 8 9 10 11 12 13 14 15 16 17 18 19 20 21 22 23 |
{
 "name": "simple-js",
 "version": "1.0.0",
 "description": "Simple JS app that will use CrafterCMS Javascript SDK",
 "main": "index.js",
 "author": "Russ",
 "license": "MIT",
 "dependencies": {
 "@craftercms/classes": "^1.0.0",
 "@craftercms/content": "^1.0.0",
 "@craftercms/models": "^1.0.0",
 "@craftercms/search": "^1.0.0",
 "@craftercms/utils": "^1.0.0"
 },
 "scripts": {
 "test": "echo \"Error: no test specified\" && exit 1",
 "build": "webpack"
 },
 "devDependencies": {
 "webpack": "^4.17.1",
 "webpack-cli": "^3.1.0"
 }
}
|
This file describes our application, how to build it and what is needed to build it. In the content above we can see:
- The application metadata.
- The application dependencies we are requiring are the various CrafterCMS Javascript SDK dependencies ( “@craftercms/content”: “^1.0.0”, “@craftercms/search”: “^1.0.0”, etc.)
- The application build/dev dependencies that help us compile the application for distribution ( “webpack”: “^4.17.1”, “webpack-cli”: “^3.1.0”.)
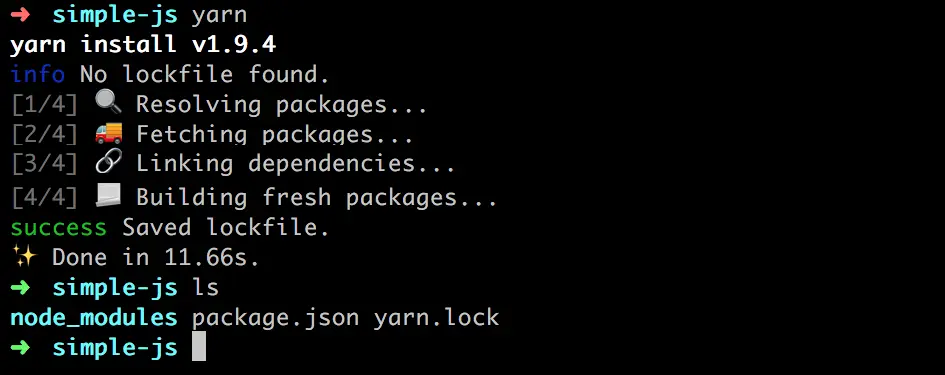
Step 2: Perform an initial build
Run yarn in your application directory. This will download all of your dependencies.
Step 3: Create an application Javascript
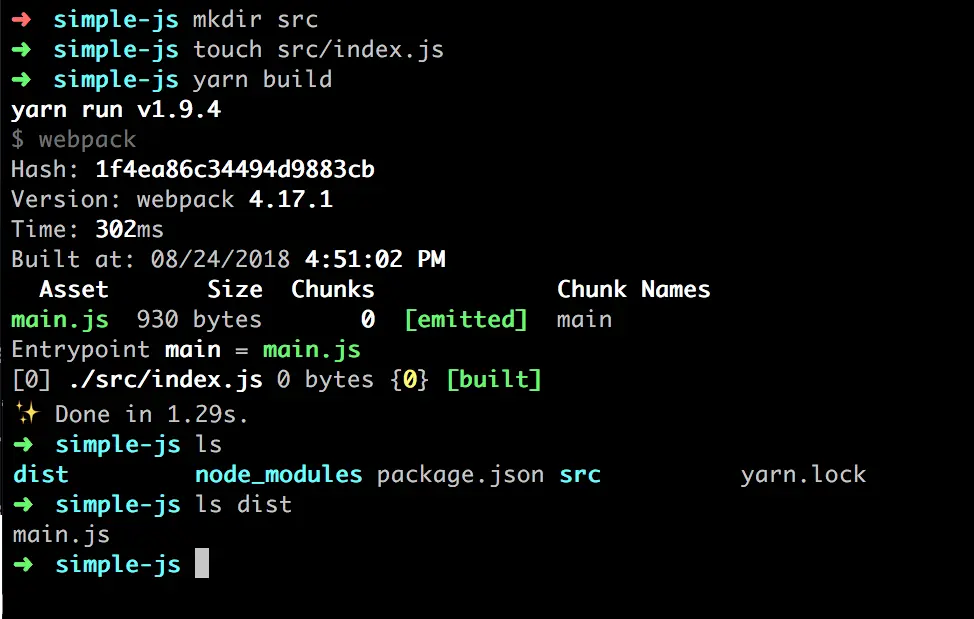
Note that in our package.json we’ve listed index.js listed as the main for the application. Let’s create the src directory and create an index.js in the src directory.
I’ll use the Unix touch command to create the index.js. This creates an empty file.
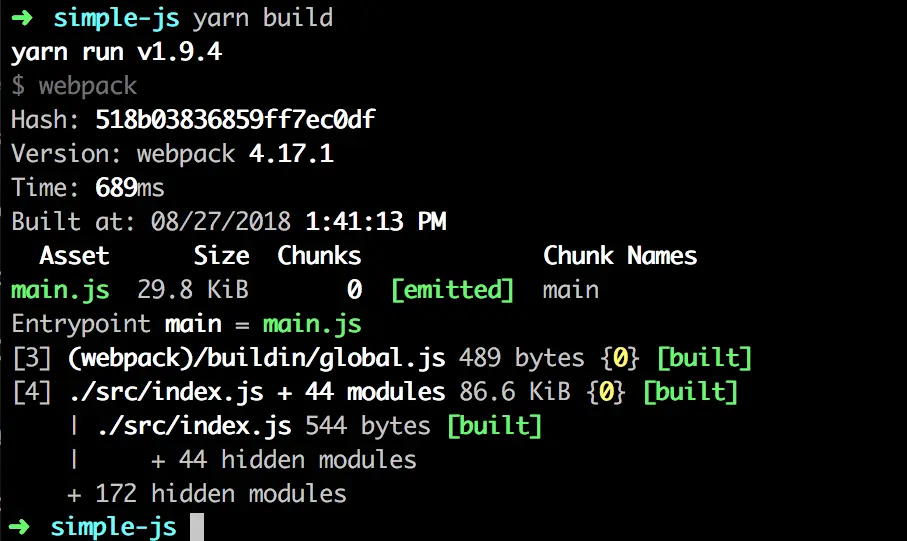
Once the file is in place you can run a yarn build command. This will create a dist folder with a compiled main.js. The main.js file contains a minified, concatenated set of your dependencies and your script.js code (which is currently empty.)
Step 4: Create an application HTML
Now that our application is building, let’s create a page we can load in a browser and add some basic logic.
In your simple-js directory add a file called index.html with the following content:
1 2 3 4 5 6 7 8 9 10 |
<!doctype html> <html> <head> <meta http-equiv="Content-Type" content="text/html;charset=ISO-8859-1"> <title>Getting Started</title> </head> <body> <script src="./dist/main.js"></script> </body> </html> |
As you can see, all this HTML does is declare the head and body of our page and call the main.jsscript file.
To make our application a little more interesting, let’s add some basic logic to our script.js file. Add the following code the src/script.js file:
1 2 3 4 5 6 |
function component() { var element = document.createElement('div'); element.innerHTML = "Hello World"; document.body.appendChild(element); } component(); |
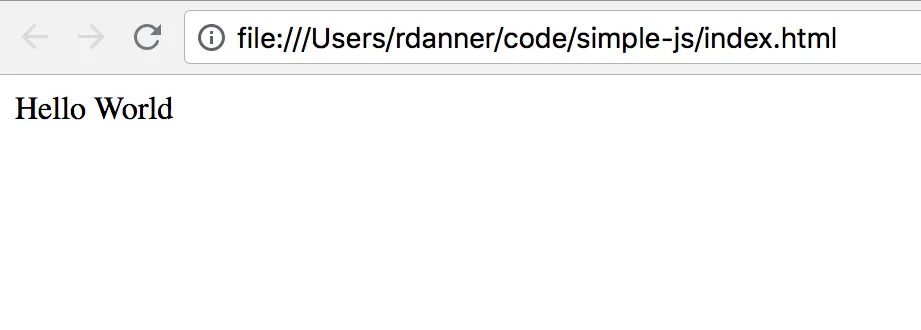
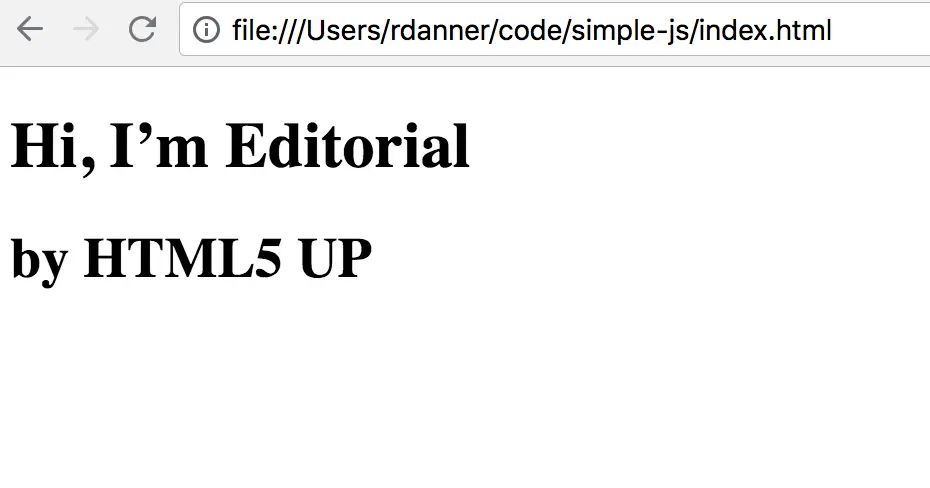
Now rebuild your application using the yarn build command and open the index.html file in your browser to see your application running.
Step 4: Calling CrafterCMS API’s with our application
Now that we have a very basic, working application it’s time to use the CrafterCMS Javascript SDK.
Crafter Engine Instance
In order to use the CrafterCMS APIs, you will need a running Crafter Engine instance with a project set up that you have access to. It’s easy to get started. Here are some helpful links on getting things set up:
- Installing CrafterCMS: Installing CrafterCMS
- Your first website project: Creating and working with your First Crafter Site
CORS: CROSS-SITE SCRIPTING RULES
If you are following this blog step-by-step you are likely running Crafer Engine on localhost and you are loading your HTML file from local disk (e.g. file:///Users/rdanner/code/simple-js/index.html.)
From a browser’s perspective, “http://localhost/…” and “file:///…” are different host domains. A browser, by default, will stop you from making AJAX calls from code loaded in one domain to a different domain unless the receiving domain gives the browser an OK with the proper HTTP headers. This browser behavior is a protection against CORS (Cross-Origin Requests / Cross Site Scripting) type attacks.
In CrafterCMS, you can set up the proper headers for the receiving server (Crafter Engine) to support this example by taking the following steps:
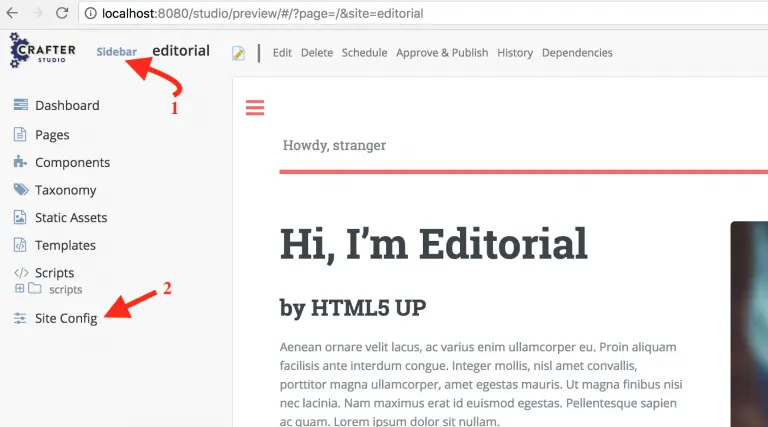
- In Crafter Studio, for your site/project, go to Site Config (found in the Sidebar)
- Select the Configuration tool. In the drop-down select the Engine Site Configurationoption.
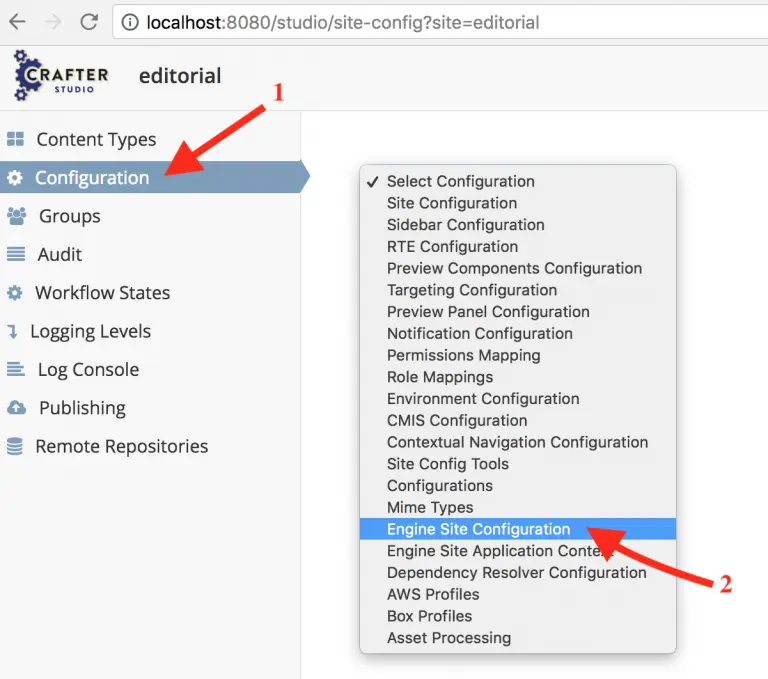
- Add the following configuration and click the Save at the bottom of the screen.
 1
 2
 3
 4
 5
 6
 7
 8
 9
10
11
<site>
 <!-- CORS Properties -->
 <cors>
   <enable>true</enable>
   <accessControlMaxAge>3600</accessControlMaxAge>
   <accessControlAllowOrigin>*</accessControlAllowOrigin>
   <accessControlAllowMethods>GET\, POST\, PUT</accessControlAllowMethods>
   <accessControlAllowHeaders>Content-Type</accessControlAllowHeaders>
   <accessControlAllowCredentials>true</accessControlAllowCredentials>
 </cors>
</site>
Import the APIs into your application javascript
Add the following code at the very top of your index.js script file. Here we are declaring the classes we will use and indicating where they are imported from (the SDK.)
1 2 |
import { ContentStoreService, NavigationService, UrlTransformationService } from '@craftercms/content'; import { crafterConf } from '@craftercms/classes'; |
Configure the SDK for your Crafter Engine endpoint base URL (server name, port etc)
Now that you have declared the CrafterCMS SDK services you want to use you are almost ready to start retrieving content. Before we can, we need to make sure the SDK APIs know where Crafter Engine “endpoint” / server is and what site to pull the content from. To do that we have two options:
- We can create a configuration object and pass it with each call
- Or we can explicitly supply the endpoint configuration with each call
Since we’re going to use the same endpoint and site, we’ll set up a configuration object and pass it when we call the APIs. To configure the endpoint we add the following code to our script after the import statements:
1 2 3 |
crafterConf.configure({
 site: 'editorial'
});
|
The configuration above states that our API calls will reference the site in Crafter Engine that has the “editorial” ID. By default, the configuration assumes that Crafter Engine is running locally on port 8080. To change this, add the following:
baseUrl: “YOUR_PROTOCOL//YOUR_DOMAIN:YOUR_PORT ”
1 2 3 4 |
crafterConf.configure({
 site: 'editorial',
 baseUrl: "https://mydotcomsite"
});
|
If you want the system to assume that the app and the API endpoints are on the same server you can set base URL to an empty string (“”)
Call a CrafterCMS API and get content
MAKE THE CODE CHANGES:
Now that the library is imported and configured, we’re ready to use it. Let’s add the code to our example to make a request for content and put it on the screen for the user. Below is the entire index.js script for our application with changes:
1 2 3 4 5 6 7 8 9 10 11 12 13 14 15 16 17 18 |
import { ContentStoreService, NavigationService, UrlTransformationService } from '@craftercms/content'; import { crafterConf } from '@craftercms/classes'; crafterConf.configure({ site: 'editorial' }) function component() { ContentStoreService.getItem("/site/website/index.xml", crafterConf.getConfig()).subscribe((respItem) => { var element = document.createElement('div'); element.innerHTML = respItem.descriptorDom.page['hero_title_html']; document.body.appendChild(element); }) } component(); |
What we’ve done is replace the code in the component function that was hardcoded to write “Hello World” on the screen for the user with the code that calls CrafterCMS for content and write the retrieved content on the screen instead.
Let’s take a closer look at the API call; ContentStoreService.getItem
- The first parameter is the path of the content item we want to return. The example uses the home page of the editorial site.
- The second parameter is our configuration object which supplies the site and endpoint base URL configuration.
- Lastly, you will note the subscribe operation.The SDK makes asynchronous calls to the Crafter Engine component of CrafterCMS. Subscribe allows you to supply the code you want to execute when the call returns. In our example, this is where we create an element, get our content value (hero_title) from the returned response and then update the application with the content.
COMPILE THE CODE
Once you have updated your code, rebuild the application.
Test the application
After you compile, if you refresh your application you should see content from your CrafterCMS project show up in the updated app!
Congrats! Your application’s content is now externalized and managed in the CMS.
Step 5: Update your content using the CMS
Now that our code is complete our content authors can update the content at any time via the CMS and we don’t need to rebuild or redeploy the application. Let’s use Crafter Studio to update the content for our app. You can find detailed how-to help here: Creating and working with your First Crafter Site
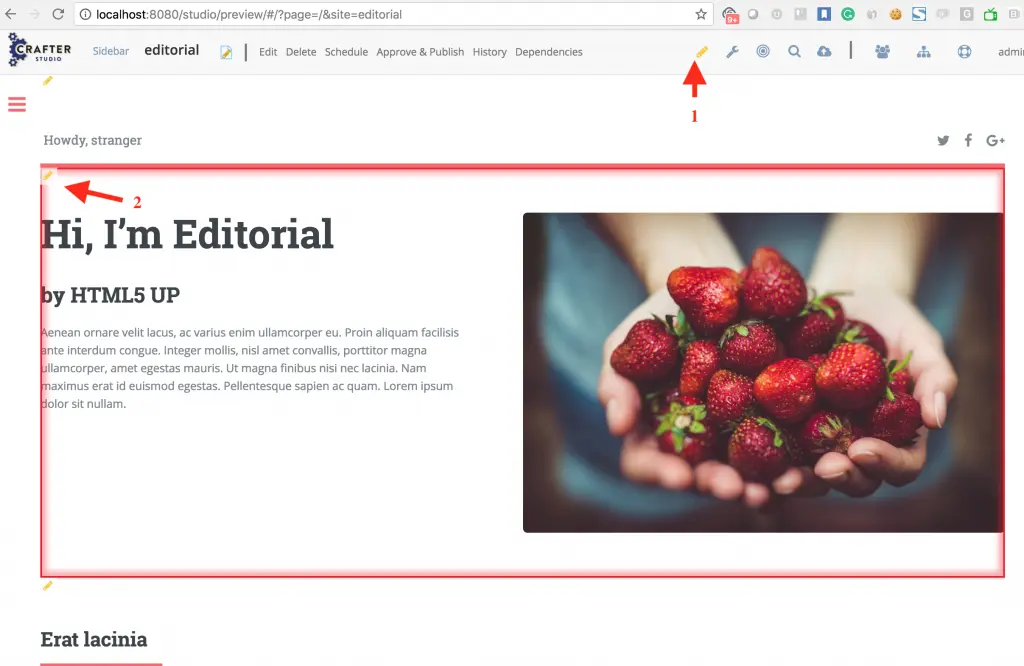
In Crafter Studio, find the content you want to edit
In our case, the content we’re consuming is the hero title. Let’s make an edit to that content:
In your site’s content preview, turn on the editing pencils and click the pencil for the Hero Title (as shown above.)
Note that the author has a preview of the content. This is something very different and ultimately much better than what you see with other Headless CMS systems.
With Crafter, it’s always possible to provide the user with a preview of the content they are editing regardless of the front end framework. Preview capability is key because it makes editing content easier for authors.
Make a content change and save
After you click the pencil for the Hero text make the change and then click the Save and Close button at the bottom of the form. You will see your update in the CMS right away.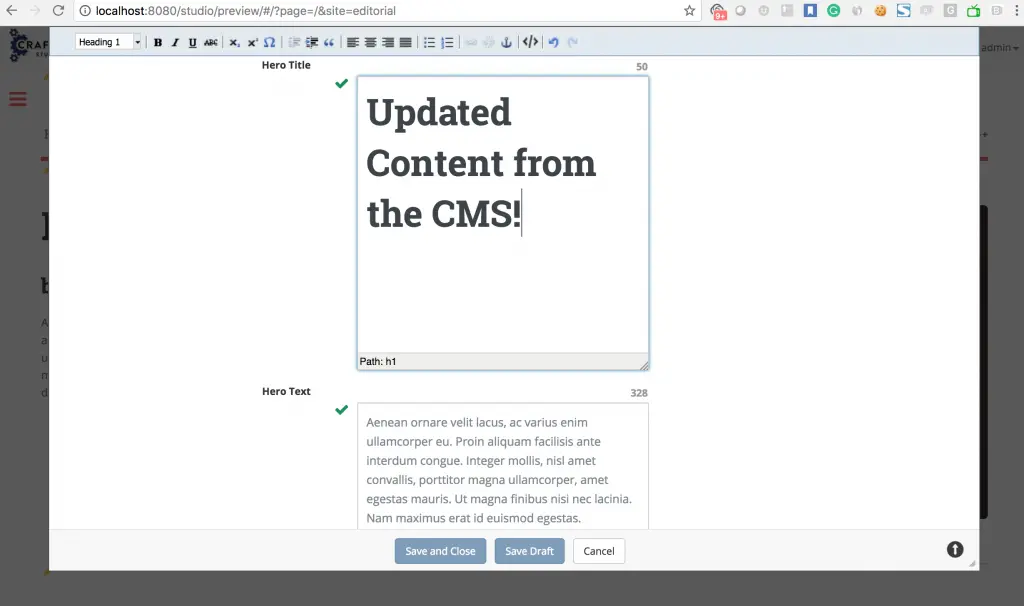
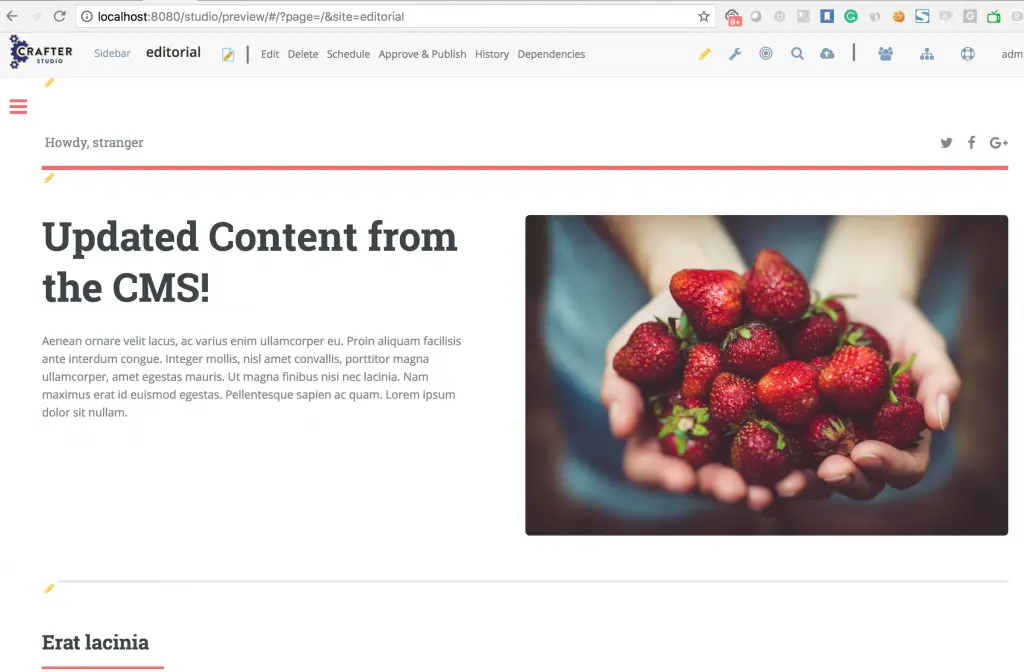
Refresh the example application
Wow! Those changes in the CMS look great (if I do say so myself :D!) Now it’s time to see the changes in our application. Simple, just refresh your application in the browser. No code updates required!
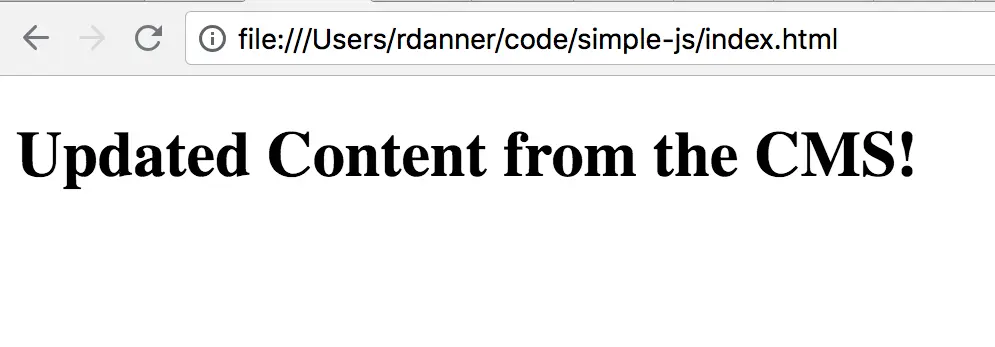
It’s really just that simple! A few lines of code allows us to create applications with content, configuration and other strings that we can update at any time without needing to update or redeploy our application code.
What about workflow and publishing?
Good question! Most of the time you want a review and approval process before content updates to applications are made public. We call this process workflow and publishing. CrafterCMS has workflow and publishing capabilities right out of the box.
To keep our example as simple as possible I kept the architecture simple and we pointed our application directly to Crafter Studio and the preview server on localhost, port 80.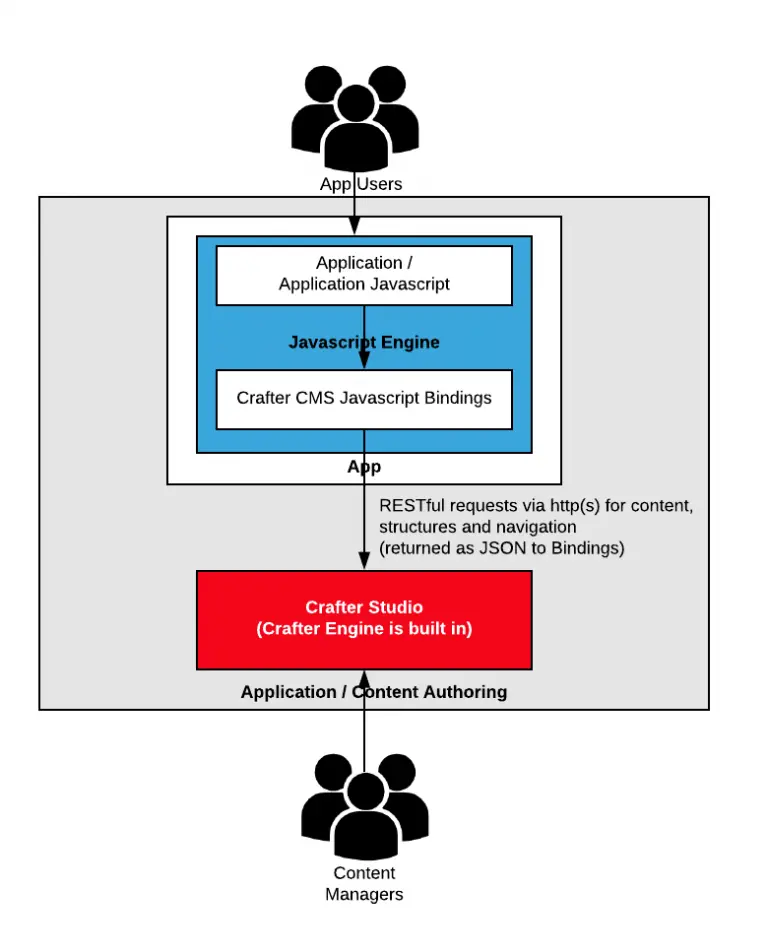
In the configuration above, the API will see updates immediately. The architecture in the High-Level Architecture section above shows a typical production topology in which updates go through approval workflow and publishing. Once the content is approved and published it is then available to the application.
Getting to know the SDK API
In our example application, we consumed a single service method from the SDK. Now that we know how to use the SDK let’s take a look at the various services and service methods the SDK provides:
| Service | Description |
|---|---|
| Content Service (@craftercms/content) |
This package contains services for retrieving content and navigation using APIs offered by CrafterCMS.
API Specification and examples: |
| Search Service (@craftercms/search) |
This package contains tools for integrating your application with Crafter Search.
API Specification and examples: |
Conclusion
CrafterCMS’s Javascript SDK gives front end and full stack developers who work in Javascript and Javascript related technology a native programming API to work with that makes building content-rich applications much easier to do.
When we stop an think about it, almost every application has content in it. If that content is easy to update and updating the content can be done by non-technical users at any time without a build or deployment everybody wins:
- The content in the application is richer and much fresher
- Developers spend time developing rather than making non-code related updates
- Removing non-feature related deployment distractions gives us more time and makes our teams more agile.
- Our business users can make their changes at any time which makes the business more agile.
Headless CMS capabilities provide non-technical users with the ability to update, workflow and publish an application’s content at any time without the involvement of developers and IT.
CrafterCMS’s headless capabilities go beyond traditional headless CMS systems by providing authors with an in-context preview for content editing and giving developers the freedom to use whatever front-end technology they want.