Using Macros to Structure Asset Folders in CrafterCMS

Introduction
Static assets are media (images, videos, etc.) or any document/binary files which are used in your site. A CrafterCMS site stores all assets under `/static-assets` directory of Studio. To learn more about CrafterCMS Assets, check out this documentation.
If your site is growing, there is a chance that you and your team will need to upload and manage a huge number of assets. Without a well-designed directory structure, this may lead to authoring usability and performance issues.
In this tutorial, we introduce how to use a macro to structure static assets directory. This will help authors upload files to designated folders or even select which folder to upload to without the need of understanding the below form control.
Introducing Macros
Note: “Macro” in this tutorial is defined as Macros for Data Sources, Do not confuse it with the Freemarker macro directive.
Data Sources are pickers that help pull in content from internal or external storage/systems. For example, data sources include desktop video uploaders, desktop image uploaders, and so on. CrafterCMS ships with a number of out-of-the-box data sources and you can also create your own by reading Build a Form Engine Data Source.
While working with Data Sources, CrafterCMS also provides helpful macros which dynamically selects folder paths to store assets. This is convenient for site users to structure static assets while pulling content from internal or external storages.
As of current CrafterCMS version 3.1.x, the following macros are supported by default:
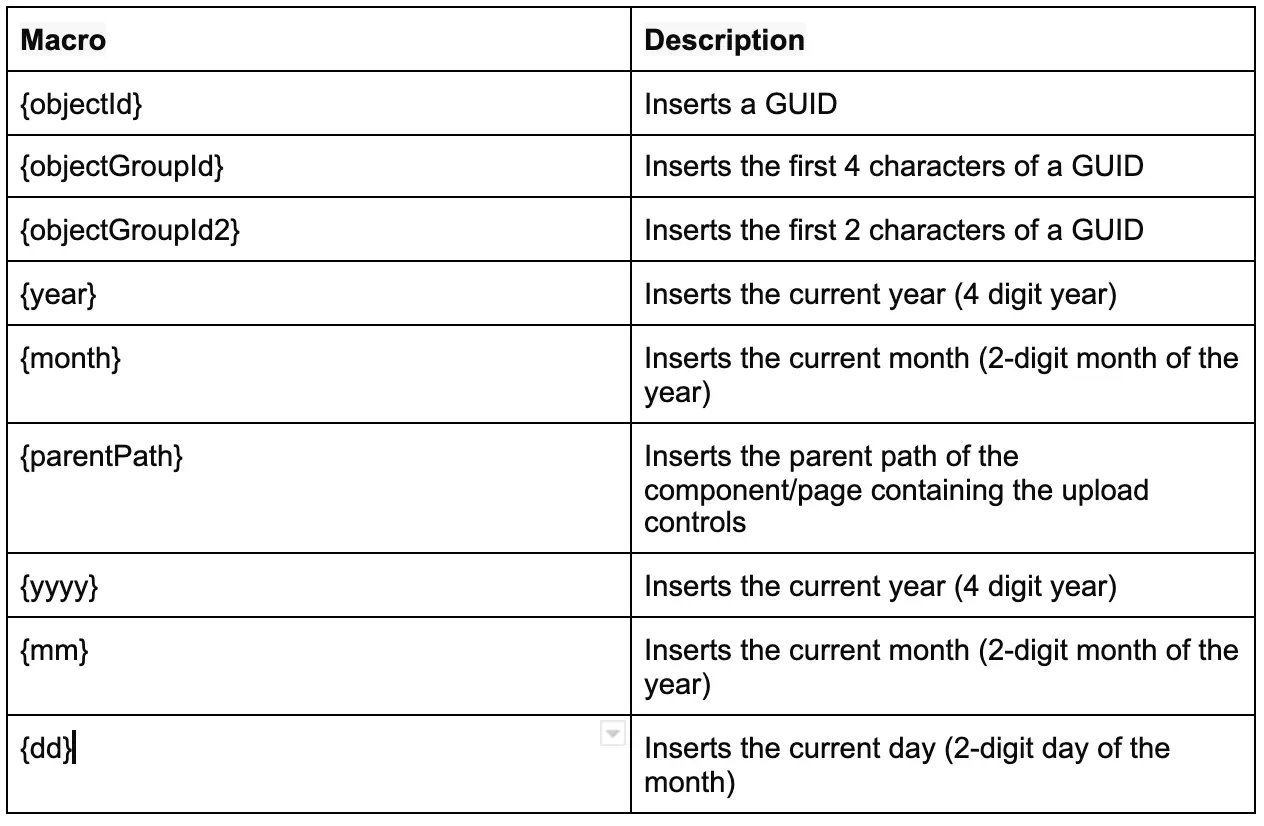
Using Macros
Let’s look at more detail on each macro with some examples of how to use it.
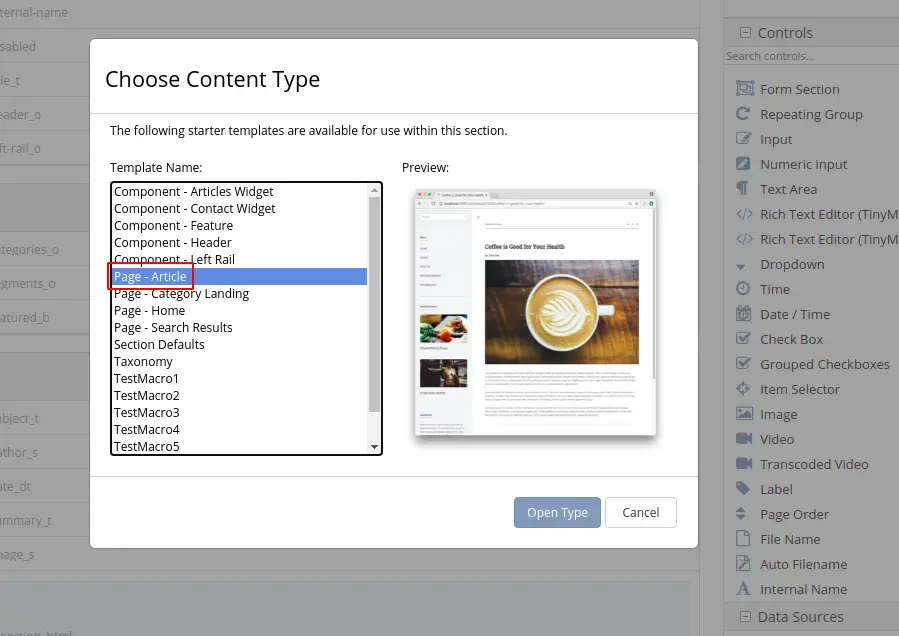
For this tutorial, we create a site from the blueprint “Website Editorial Blueprint” on the Crafter Marketplace. Macros work on any site but we’ll use this blueprint, “Website Editorial Blueprint” because it comes with a default sample Page with macros for reference.
Default Usage from “Website Editorial Blueprint”
After you create a new site using “Website Editorial Blueprint”, open Content-Type “Page - Article”.
On Data Source > Upload Images, notice that we have Repository Path with following content: /static-assets/item/images/{yyyy}/{mm}/{dd}/
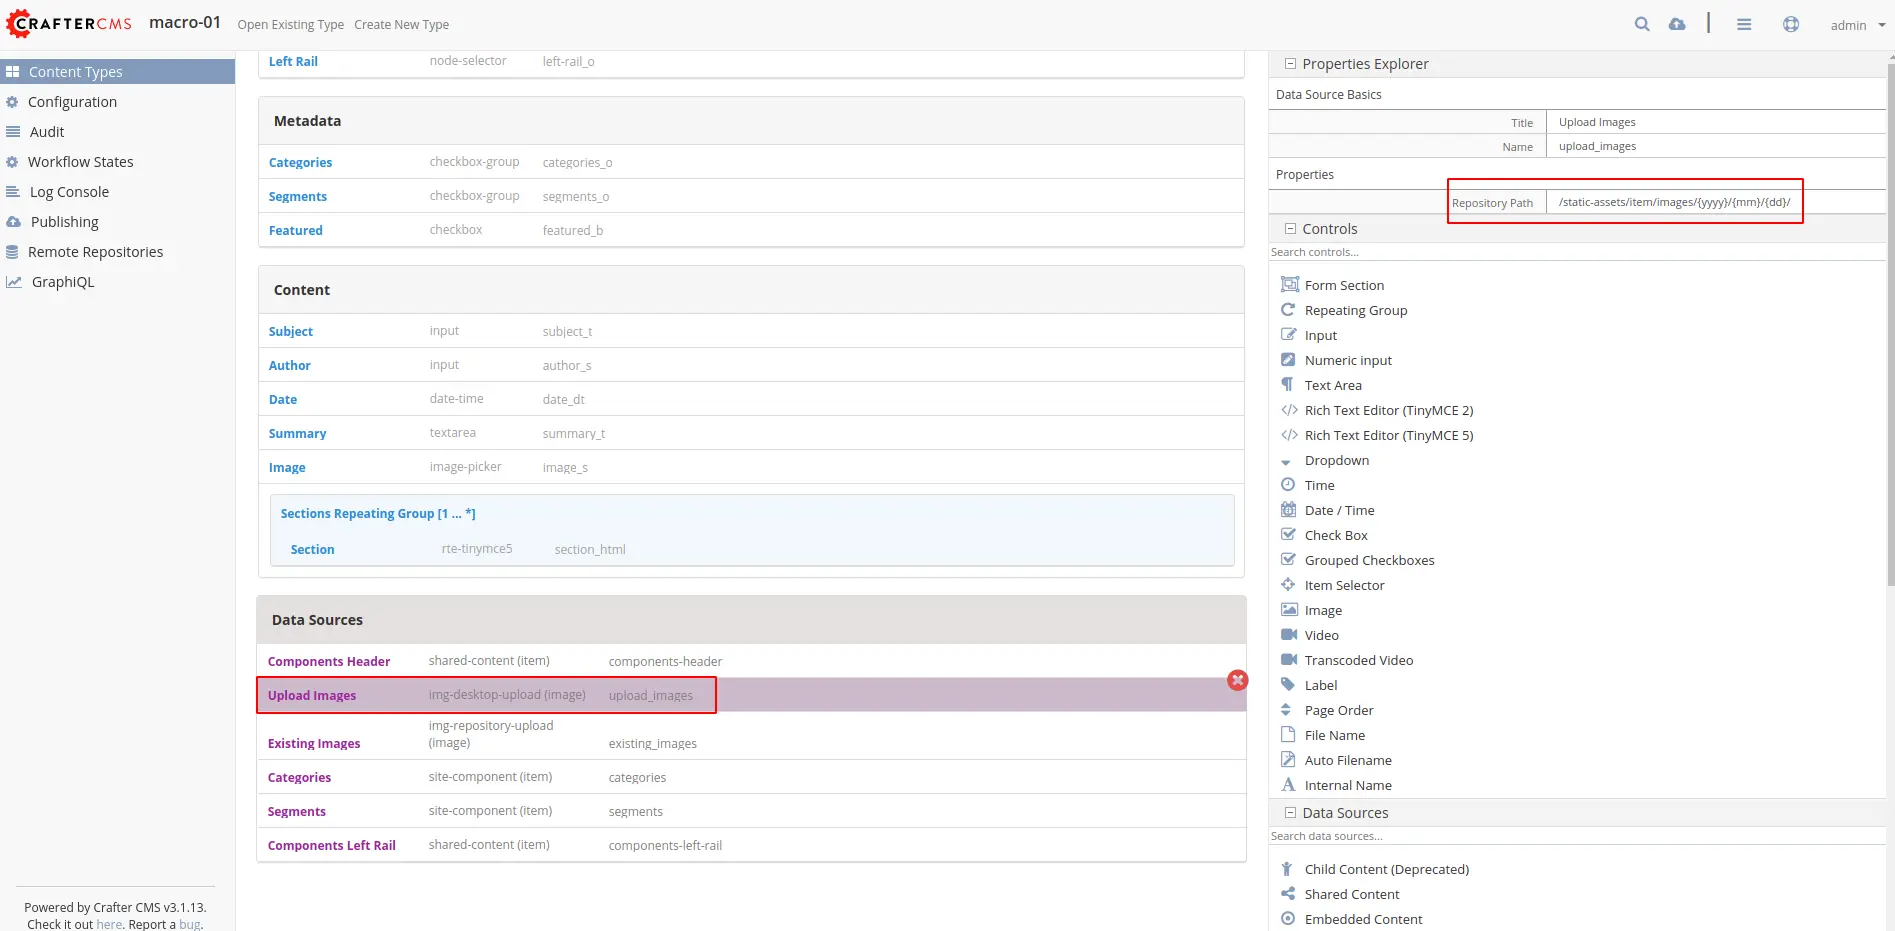
This is a basic macro usage, any file upload will be saved to /static-assets/item/images/ + uploading date.
When we create a new Page with the type “Page - Article” on 2021/04/20, all images will be uploaded to the following directory: /static-assets/item/images/2021/04/20.
Use Object ID
This macro inserts a Globally Unique Identifier, or GUID (aka UUID). It is convenient if we want to separate asset folders for each Page:
Using /static-assets/page/images/{objectId} for Repository Path:
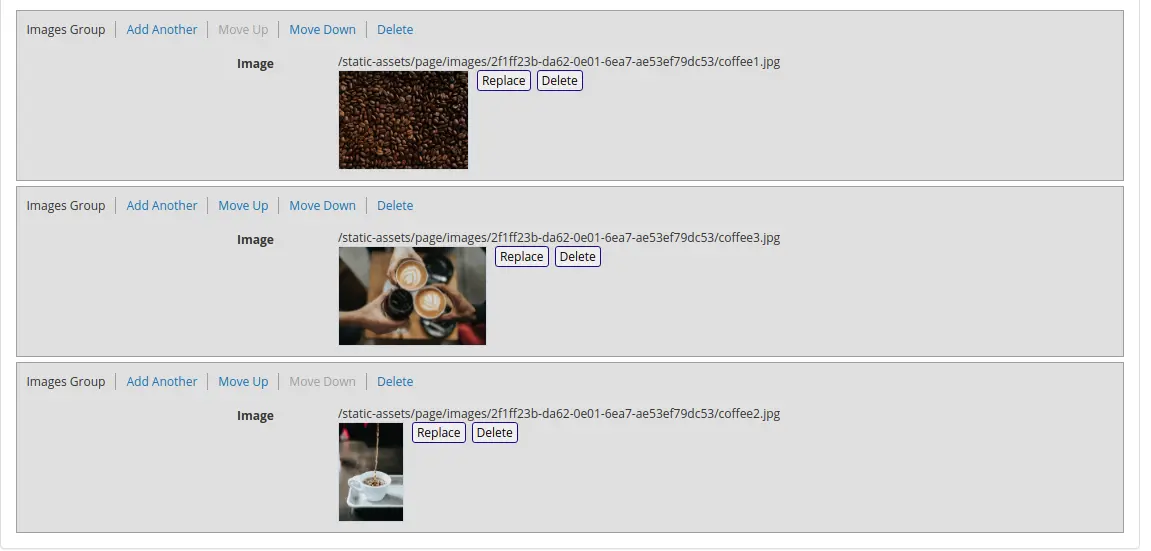
In the above example, we use`{objectId}` for a 32 characters length string. We can also use shorter versions with only 4 or 2 characters strings.
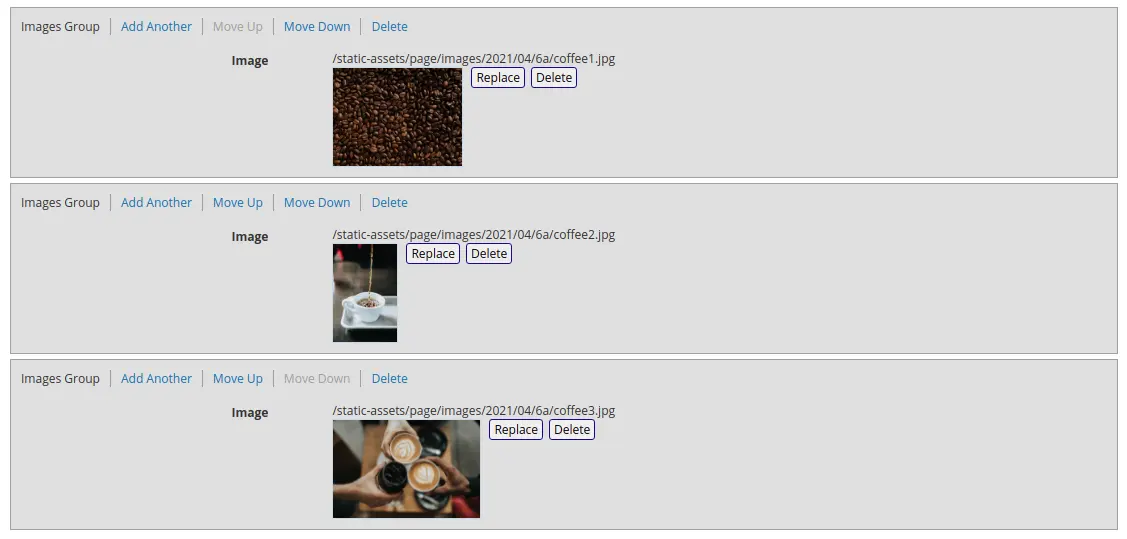
Use /static-assets/page/images/{objectGroupId} to generate the first 4 characters of a GUID:

Use /static-assets/page/images/{yyyy}/{mm}/{objectGroupId2} to generate the first 2 characters of a GUID.
Note that we also use a combination of other macros `{yyyy}` and `{mm}`:
Using Parent Path Macro
An interesting macro is {parentPath}, which can be used to insert the parent path of the component/page containing the upload controls. This macro can be used, for example, if we want to structure an assets folder similar to what we have for the Page itself. Let’s say we want to upload assets to a `marketing` folder for marketing pages:
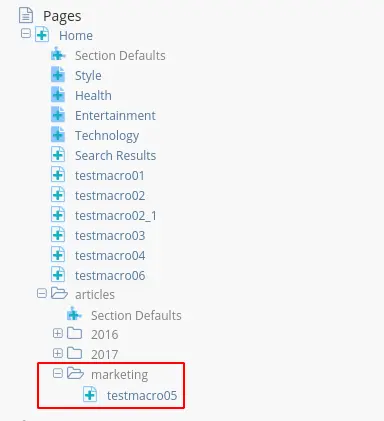
In this case, following Repository Path can be used:
/static-assets/page/images/{parentPath}/{yyyy}/{mm}/{dd}/{objectGroupId2}
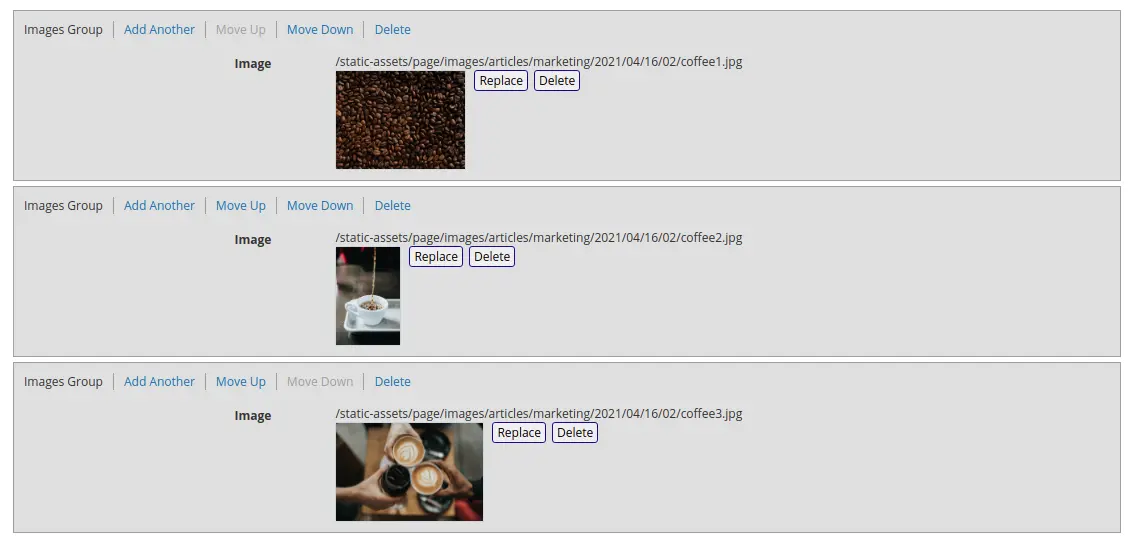
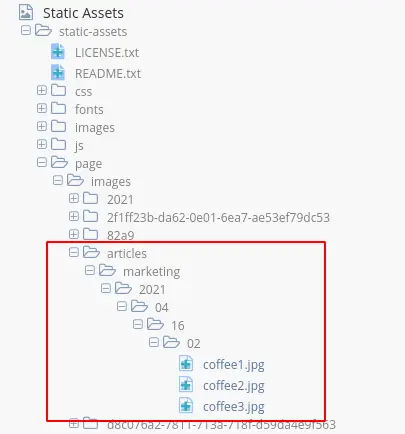
All marketing related assets then will be uploaded to directories under /static-assets/page/images/articles/marketing/....
Multiple Data Sources
CrafterCMS is super flexible. As developers, we can even design multiple data sources to give authors the permission to select a particular folder for storing assets.
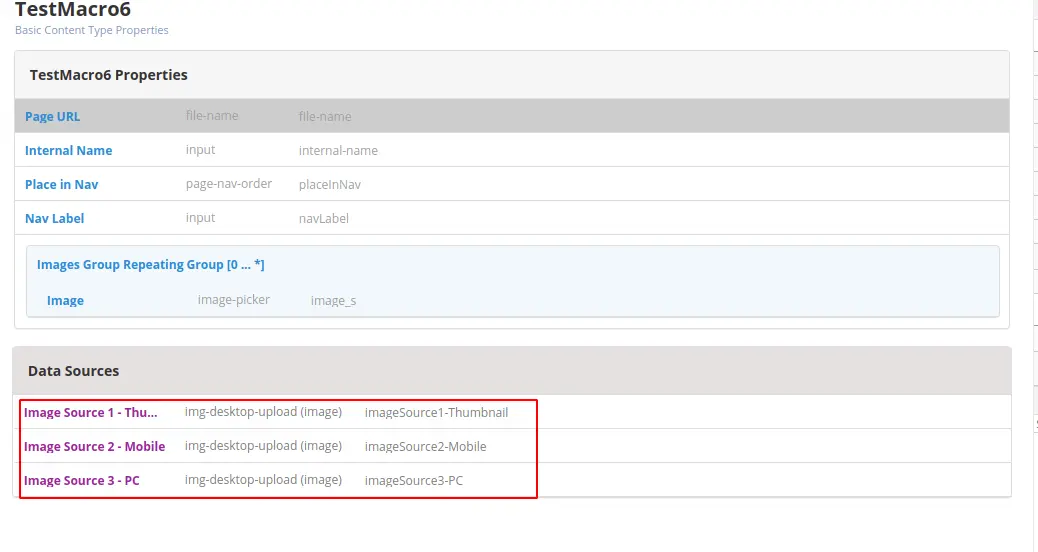
Let’s say we need to design a form that authors will upload images for a thumbnail, a mobile version, and a desktop version. In this case, we can have a multiple data source form and each data source can also use the different macro:
/static-assets/page/images/thumbnail/{objectGroupId}
/static-assets/page/images/mobile/{objectGroupId}
/static-assets/page/images/pc/{objectGroupId}
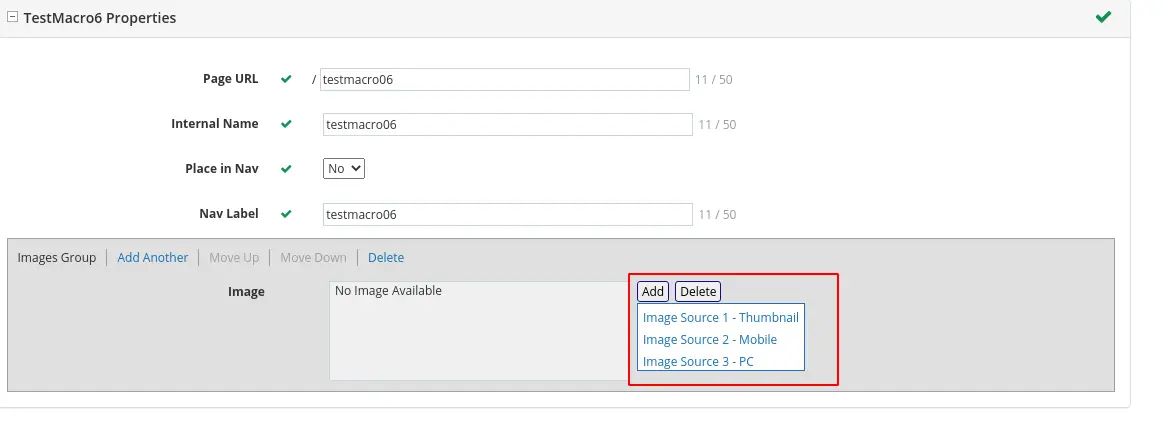
Create a sample page:
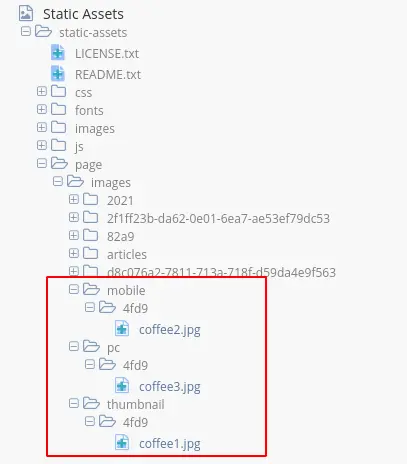
Then images are uploaded to a different location:
Conclusion
In this tutorial, we explain Macros for Data Sources and provide some example use cases for them. These macros are useful to organize static assets (and other types of content) for CrafterCMS sites. Macros help us build a more structured information architecture which ultimately leads to better CMS usability and performance.