CrafterCMS Step through Debugging
Most CMS platforms do a decent job of simplifying content and digital experience creation and editing for non-technical content managers. The challenges really start once you need to innovate and development is required. Traditionally CMS platforms have been pretty bad for developers. They require a lot of CMS specific knowledge and don’t integrate with developer tools and process.
Here are 7 things that developers really want with a CMS:
- Let me work locally with my own tools like my IDE and my source code management
- Let me leverage my existing skills. I want a low learning curve. Don’t make me learn a new, niche framework
- Let me work in teams on multiple projects at the same time without interfering
- Let me maintain a real development process
- Make the integration with the CMS seamless
- Don’t make me do builds
- Don’t make me do heavy deployments
In this installment of the Work Your Way Series we’re going to tackle item #1 (Let me work locally with my own tools like my IDE and my source code management.) Let’s start with some background: CrafterCMS uses Git as its primary content store. That’s the foundation of the solution for developer desire #1. A developer can mount a local clone of a CrafterCMS project directly with their IntelliJ, Netbeans, Eclipse or other IDE. That means they can use their preferred development tools to edit and debug code and templates. And as they work, all of the changes they make are tracked by the CrafterCMS via its native Git support. Sounds awesome right? Let’s learn how to get set up:
Step 1: Get a local copy of CrafterCMS running
You are going to use your IDE to update and debug your code and templates. You’ll want a local instance of CrafterCMS running so you to execute the code and attach your debugger to.
To install and get CrafterCMS running (authoring environment) locally follow this guide:
http://docs.craftercms.org/en/3.0/getting-started/quick-start-guide.html
Step 2: Start a CrafterCMS project
Now that CrafterCMS is up and running let’s create a project so we have a place to work. We’ll create a local project for the sake of this article, however, as we’ll learn later in this series, it’s possible to clone a remotely managed project as well.
To create your CMS project follow this guide:
http://docs.craftercms.org/en/3.0/getting-started/your-first-website.html
Step 3: Mount your IDE on top of your CrafterCMS project
For this article, I’m going to use IntelliJ. Any IDE that allows you to connect to a remote JVM via Java Debug Wire Protocol (JDWP) should work. Eclipse and Netbeans are other solid IDE options.
- Within IntelliJ, create a new project:
- Select Create New Project
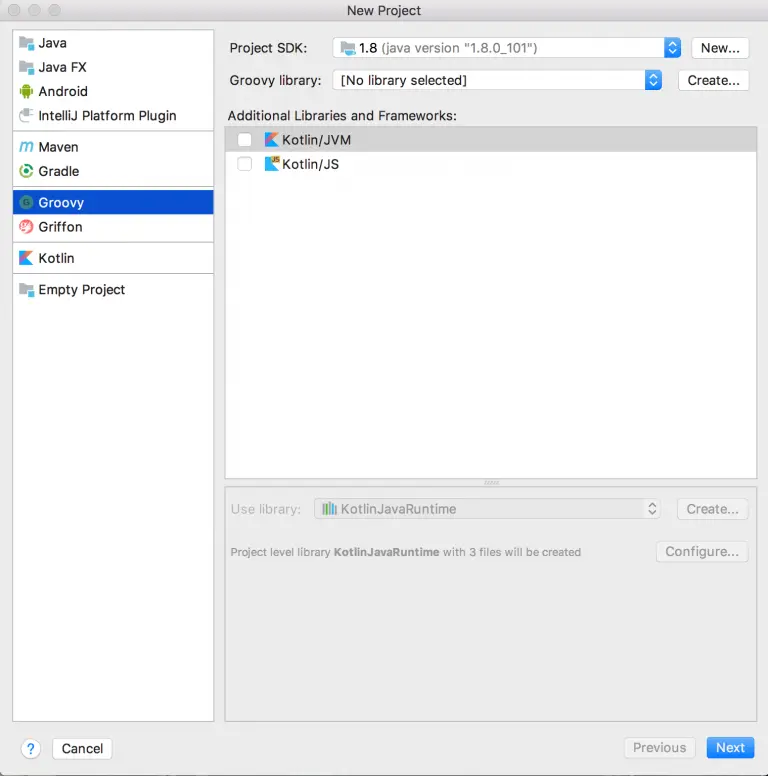
- Choose Groovy
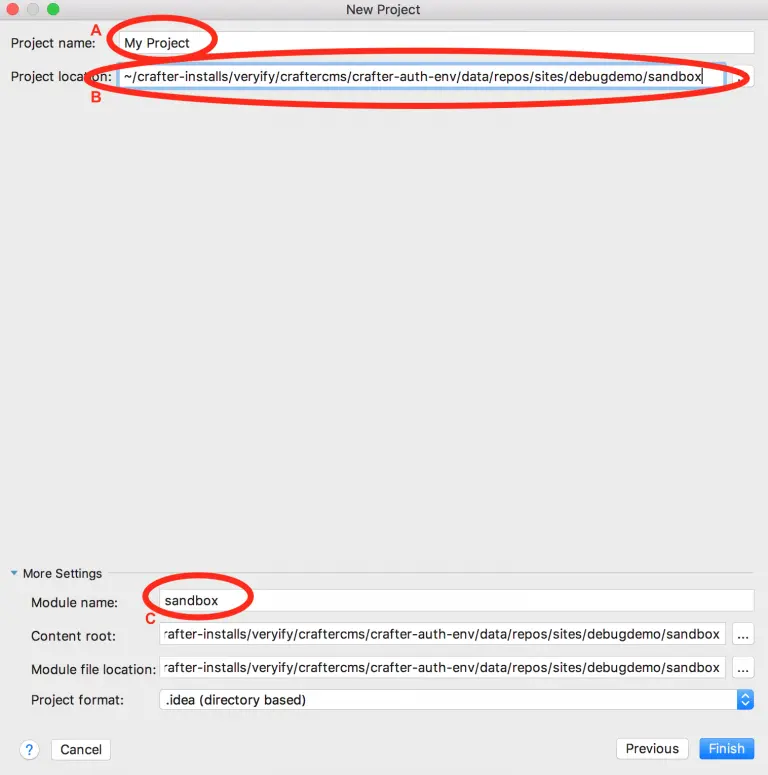
- A: Configure your project name to something you like
- B: Browse to the Git repo “Sandbox” under your “CRAFTER-INSTALL/data/repos/sites/PROJECTID/sandbox”
- C: Change the module name from Sandbox to your project name
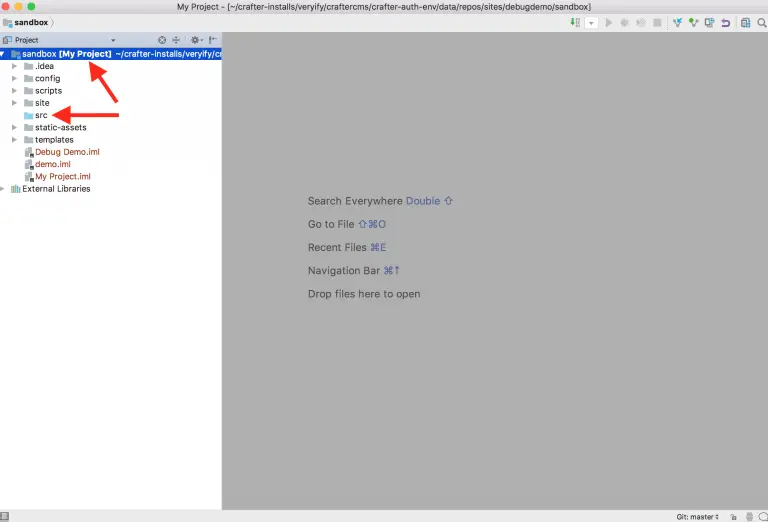
- Once your project is created, open it to see all the files. IntelliJ automatically recognizes you are sitting on top of a Git repo and will allow you to do Git operations right from the IDE.
- Note that a Groovy project creates an “src” folder. You can delete this. You don’t need it.
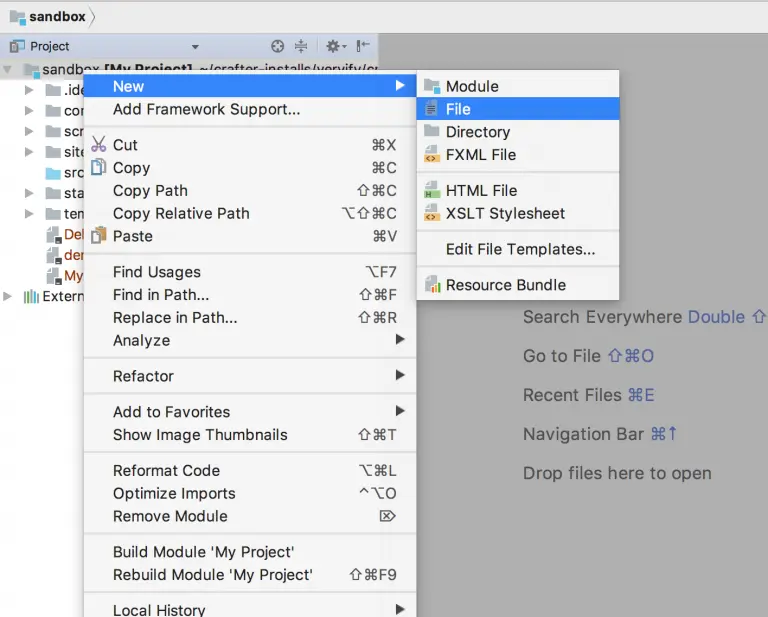
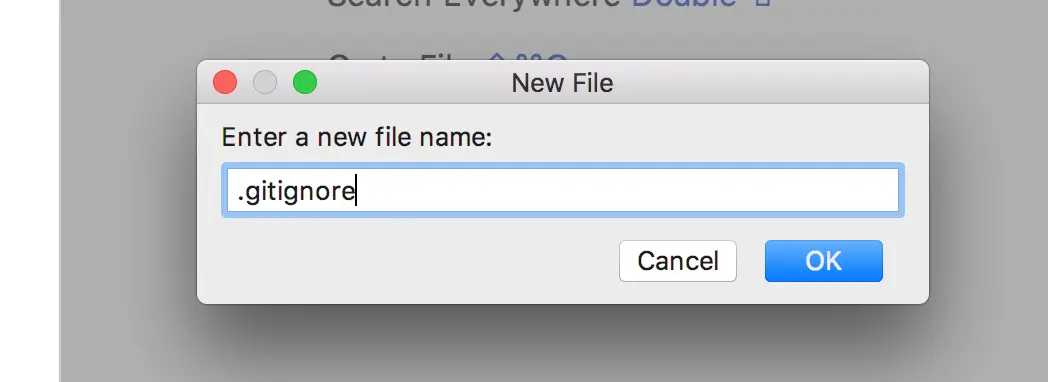
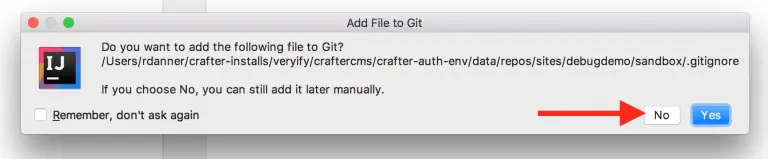
- Right click on your model and add a new file called “.gitignore”
- Do not add this file to Git when prompted.
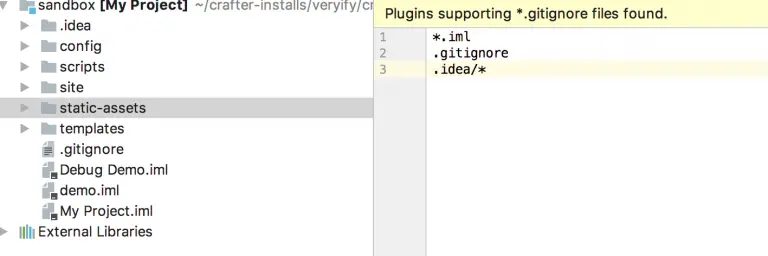
The contents of the .gitingore file should be as follows:
*.iml
.gitignore
.idea/*
- This will tell Git and CrafterCMS to ignore your IDE project files

- If you were to run a “git status” command in your project sandbox you would note that Git is totally satisfied and ready to rock
Step 4: Set up step-through debugging
Great, now that we’ve got our IDE sitting on top of our project and we’ve got the Git integration configured we’re ready to set up the step through-debugging.
- Shut down CrafterCMS
- Add the following lines to CRAFTER-INSTALL/bin/apache-tomcat/bin/setenv.sh (or setenv.bat)
- Syntax in .bat will be slighly different

export CATALINA_OPTS="$CATALINA_OPTS -agentlib:jdwp=transport=dt_socket,address=localhost:8000,server=y,suspend=n"
- Start CrafterCMS
Back in our IDE we can now configure and start our remote debugging session!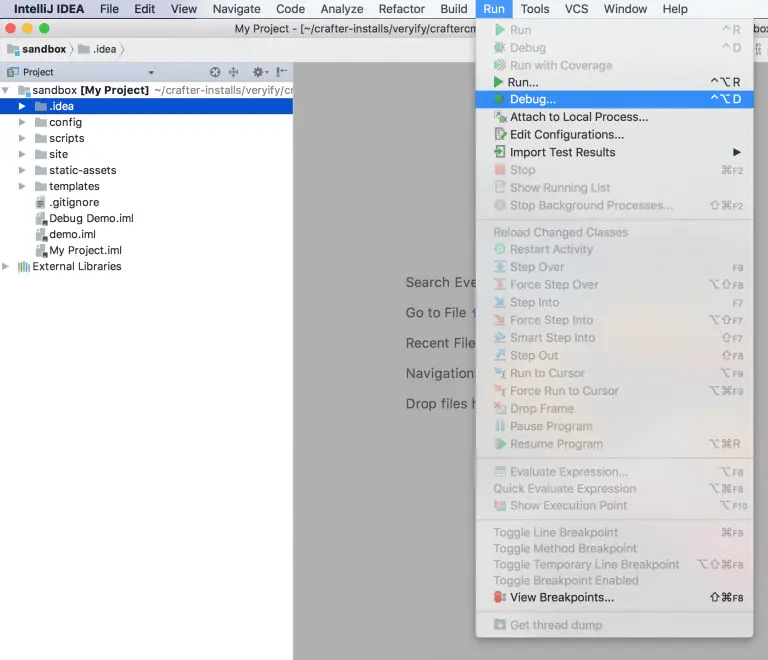
- Go to “Run” and select “Debug”

- Since this is a new project we’ve got to configure our debugging connection. The next time you click Debug you’ll just select the existing configuration and click Run.
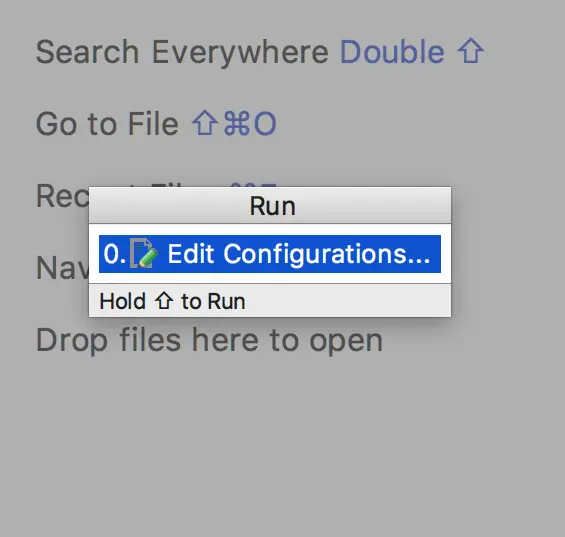
- Click the + (plus) icon to create a new configuration
- Select “Remote”
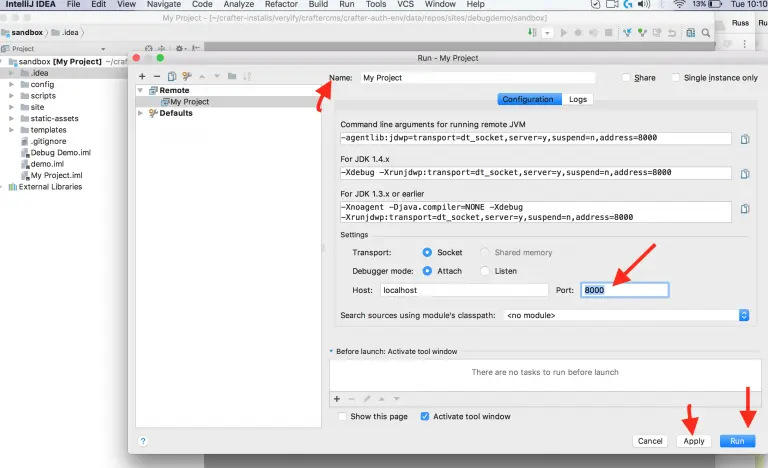
- Give the debug configuration a name
- Change the port from 5005 to 8000 (to match the value in setenv.sh)
- Click “Apply” to accept the changes
- Click “Run” to attach to the JVM running CrafterCMS
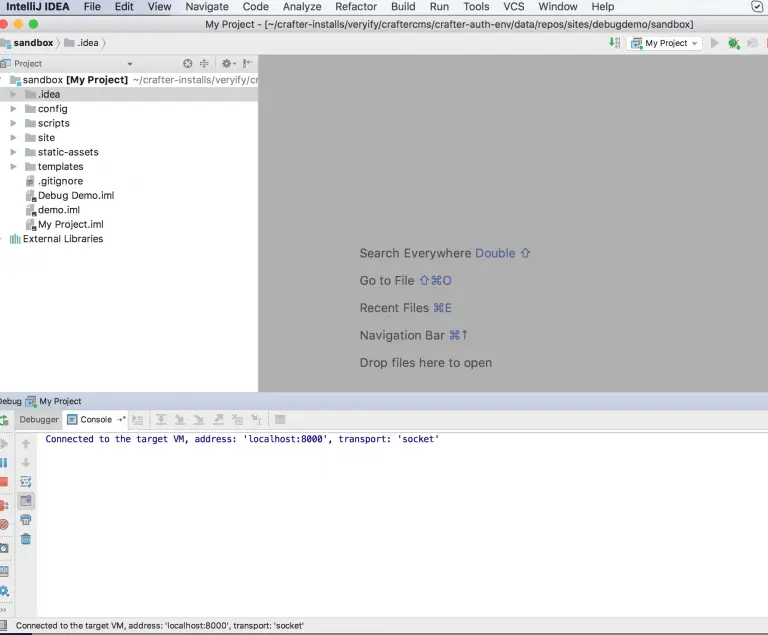
- Congrats! If your JVM configuration is correct and your ports match in the debug config when you click “Run” you’ll see the “Connected” message in the console as shown above.
Step 5: Start debugging
Now that we’re connected we can start stepping through code in our Groovy Scripts.

- Open the “Scripts” folder in your project
- Browse down through classes, org, craftercms, sites, editorial and open SearchHelper.groovy
- Set a breakpoint at line 56. This method is used by the Home Page controller of the editorial website we created in step 2.
- In a browser, open the CrafterCMS preview for the homepage of the website we created

- When you load the homepage in Crafter Studio the rendering will pause
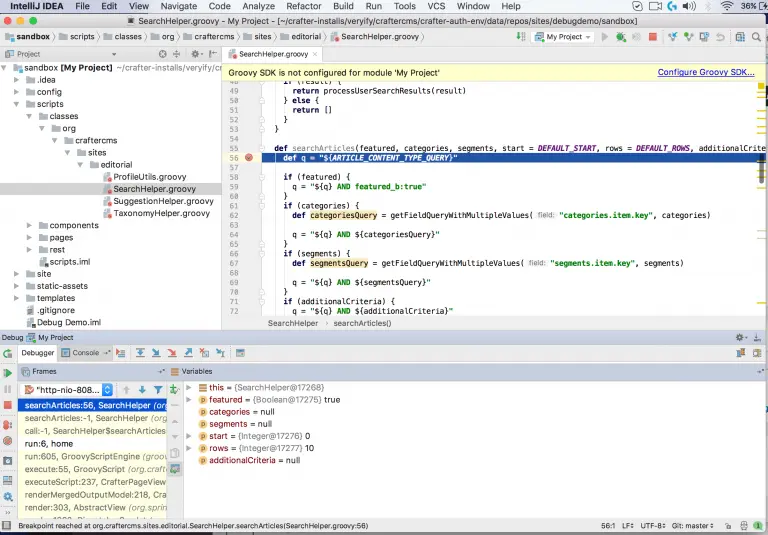
- IntelliJ’s window will typically come to the foreground automatically.
- The thread has been paused and the IDE is now in control of the thread execution.
- You can now use the step-through debugging tools in the IDE to walk through the code.
Step 6: Magic
Found a bug? Here’s where things get really fun. We’re about to see the benefit of bringing Git, Groovy and your IDE together in one place. Fixing the bug and sharing that fix with the rest of your team is a breeze:
- Once you understand the bug and you know what code you want to change, click Play to let the thread complete.
- Using the IDE, fix the Groovy code.
- Simply refresh the browser again to test. Step through and verify things are working.
- Using the IDE to interface with Git, commit the code and push the code forward in your team mates.
- Find something fun to do or work on. You have a lot more time on your hands now that you are working in a truly integrated, no-compile required, easy to code and debug CMS