
Step 1: Download CrafterCMS
CrafterCMS is a decoupled CMS and has two main components: Authoring and Delivery. By separating these components CrafterCMS accomplishes a number of important objectives including freedom of front end framework along with independent security, scale and SLA of authoring and delivery compoennts. In this tutorial you will download, install and connect both components.
Download the the authoring and delivery archives:
Tip: If you are installing the authoring and delivery components on the same machine, create top level directories for each componenent:
directory structure like this:
crafter-cms/
├── authoring/
│   └── (extract authoring archive here)
├── delivery/
│   └── (extract delivery archive here)
Directory Structure
Once Crafter’s files are extracted, the directory structure for each component will look like this:
[authoring|delivery]/crafter/
├── config/
│   └── ...
├── bin/
│   └── ...
├── data/
│   └── ...
├── logs/
│   └── ...
├── temp/
│   └── ...
Step 2: Start the Authoring and Delivery Server
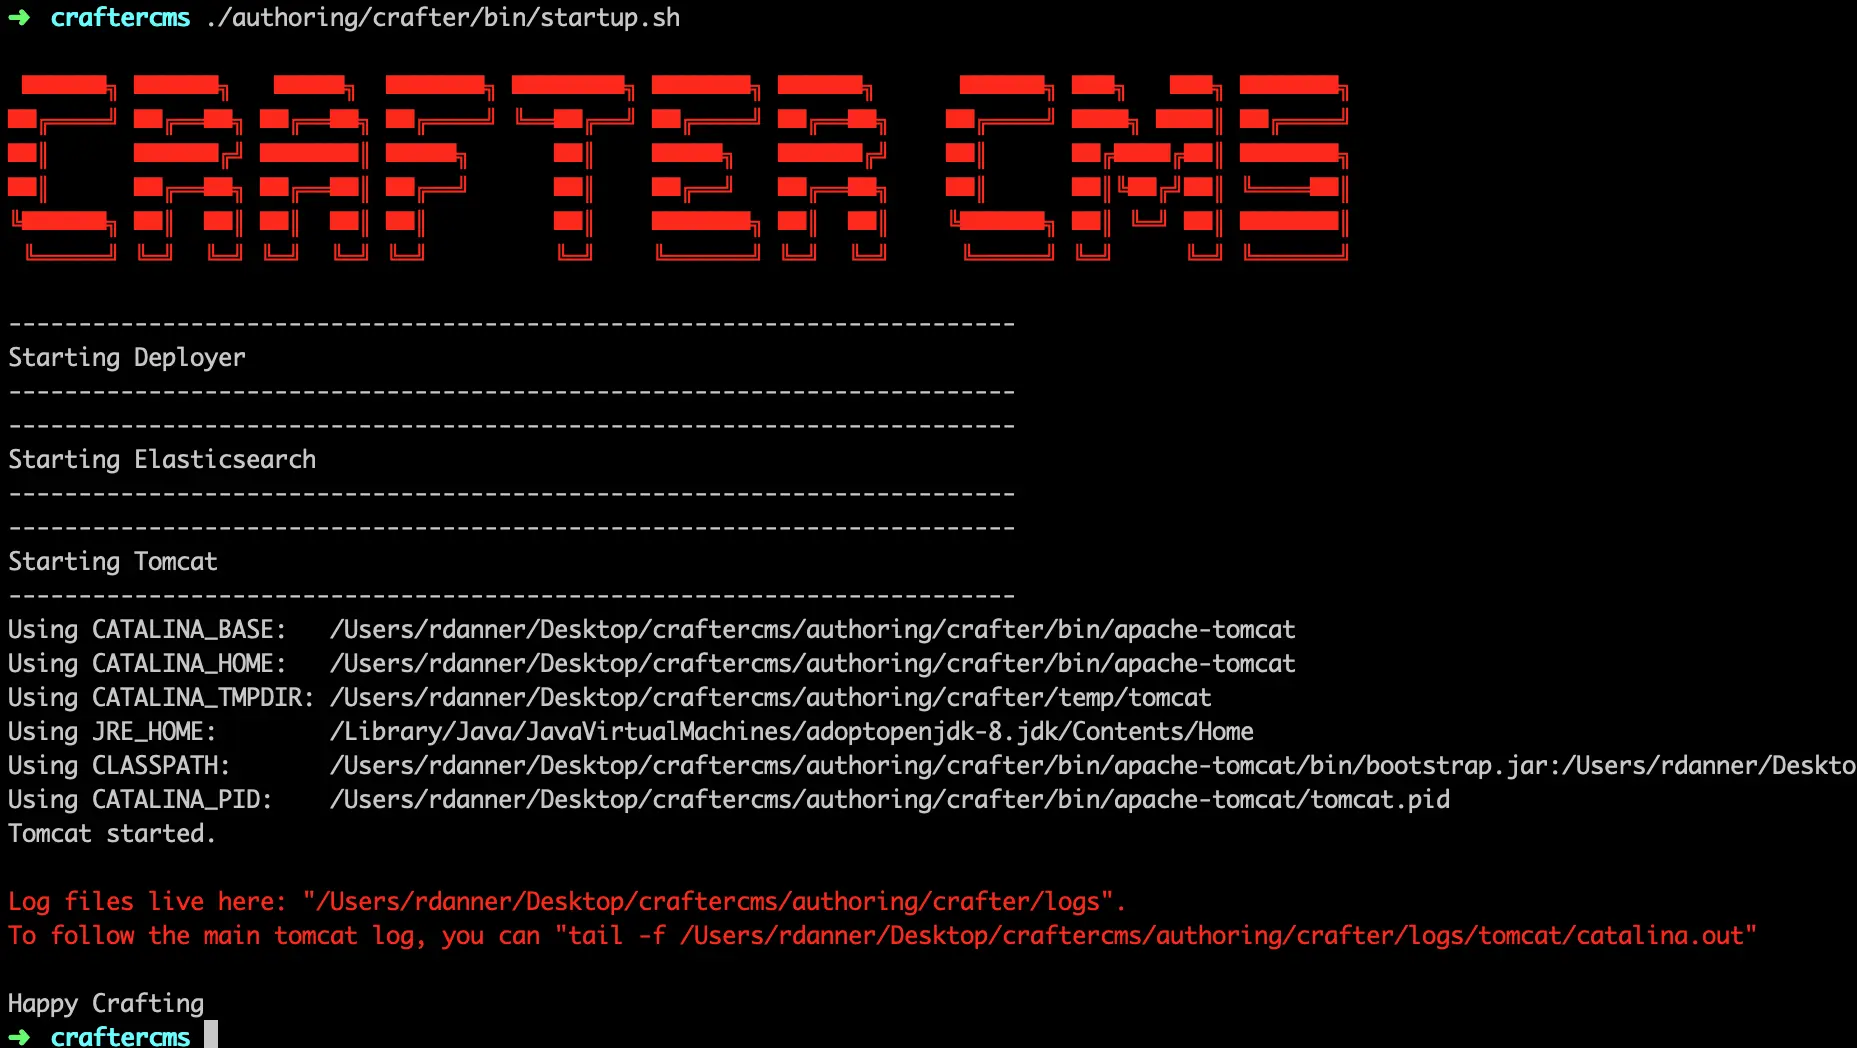
Start the authoring server:
./authoring/crafter/bin/startup.sh
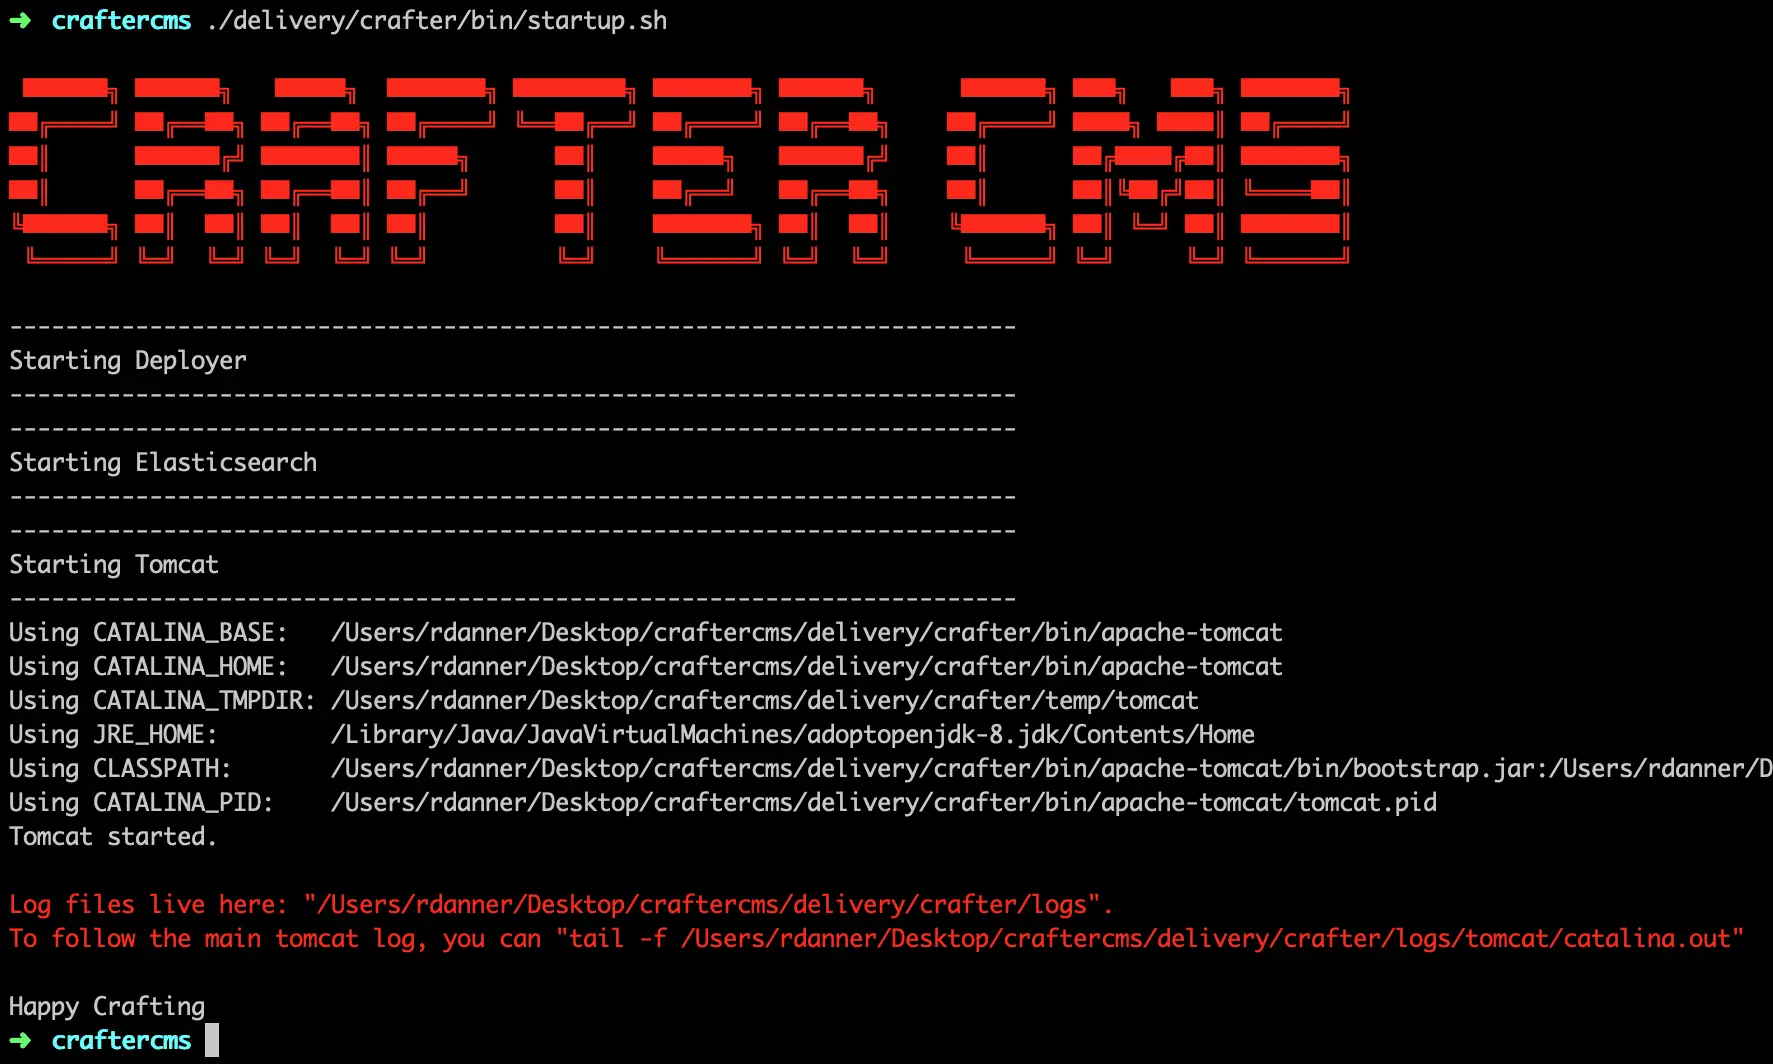
Start the delivery server:
./delivery/crafter/bin/startup.sh
.
Step 3: Open Crafter Studio in a Web Browser and Log In
Open a browser and go to the following URL:
http://<servername>:8080/studio
If you are installing on a local machine you can use the following URL:
http://localhost:8080/studio
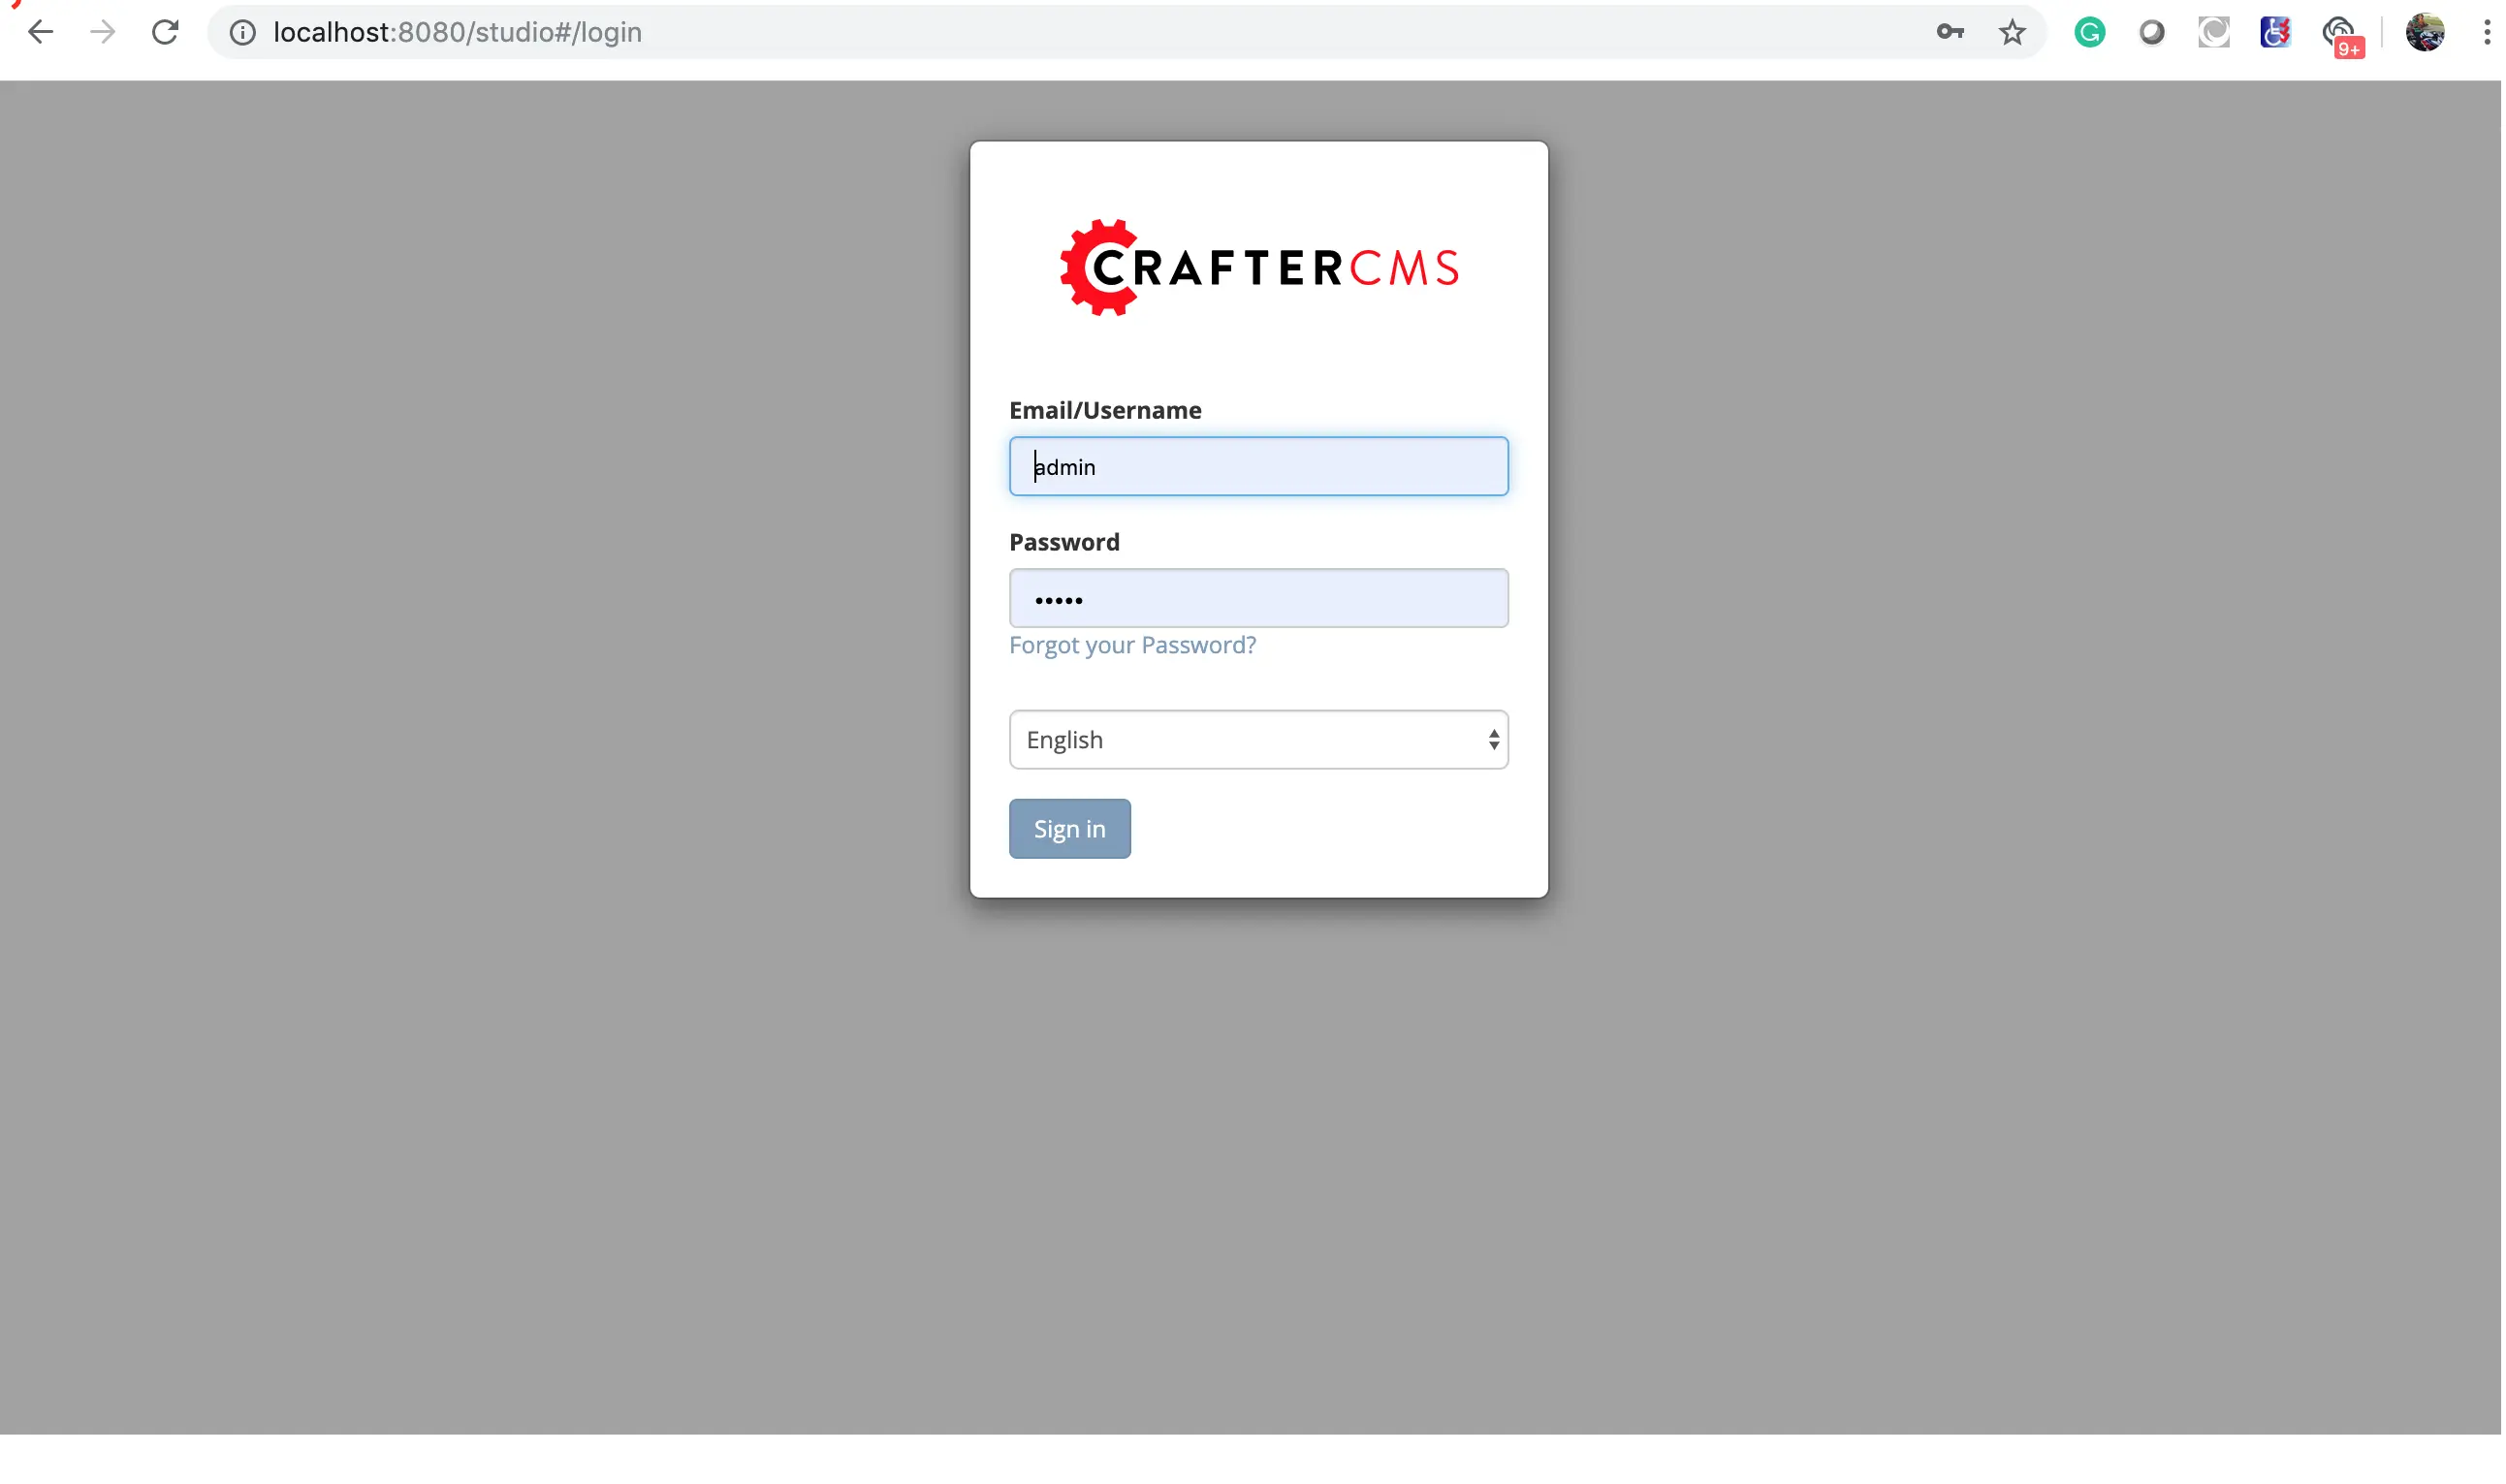
Log in to the authoring component of CrafterCMS, Crafter Studio with the global admin account:
Username: admin
Password: admin
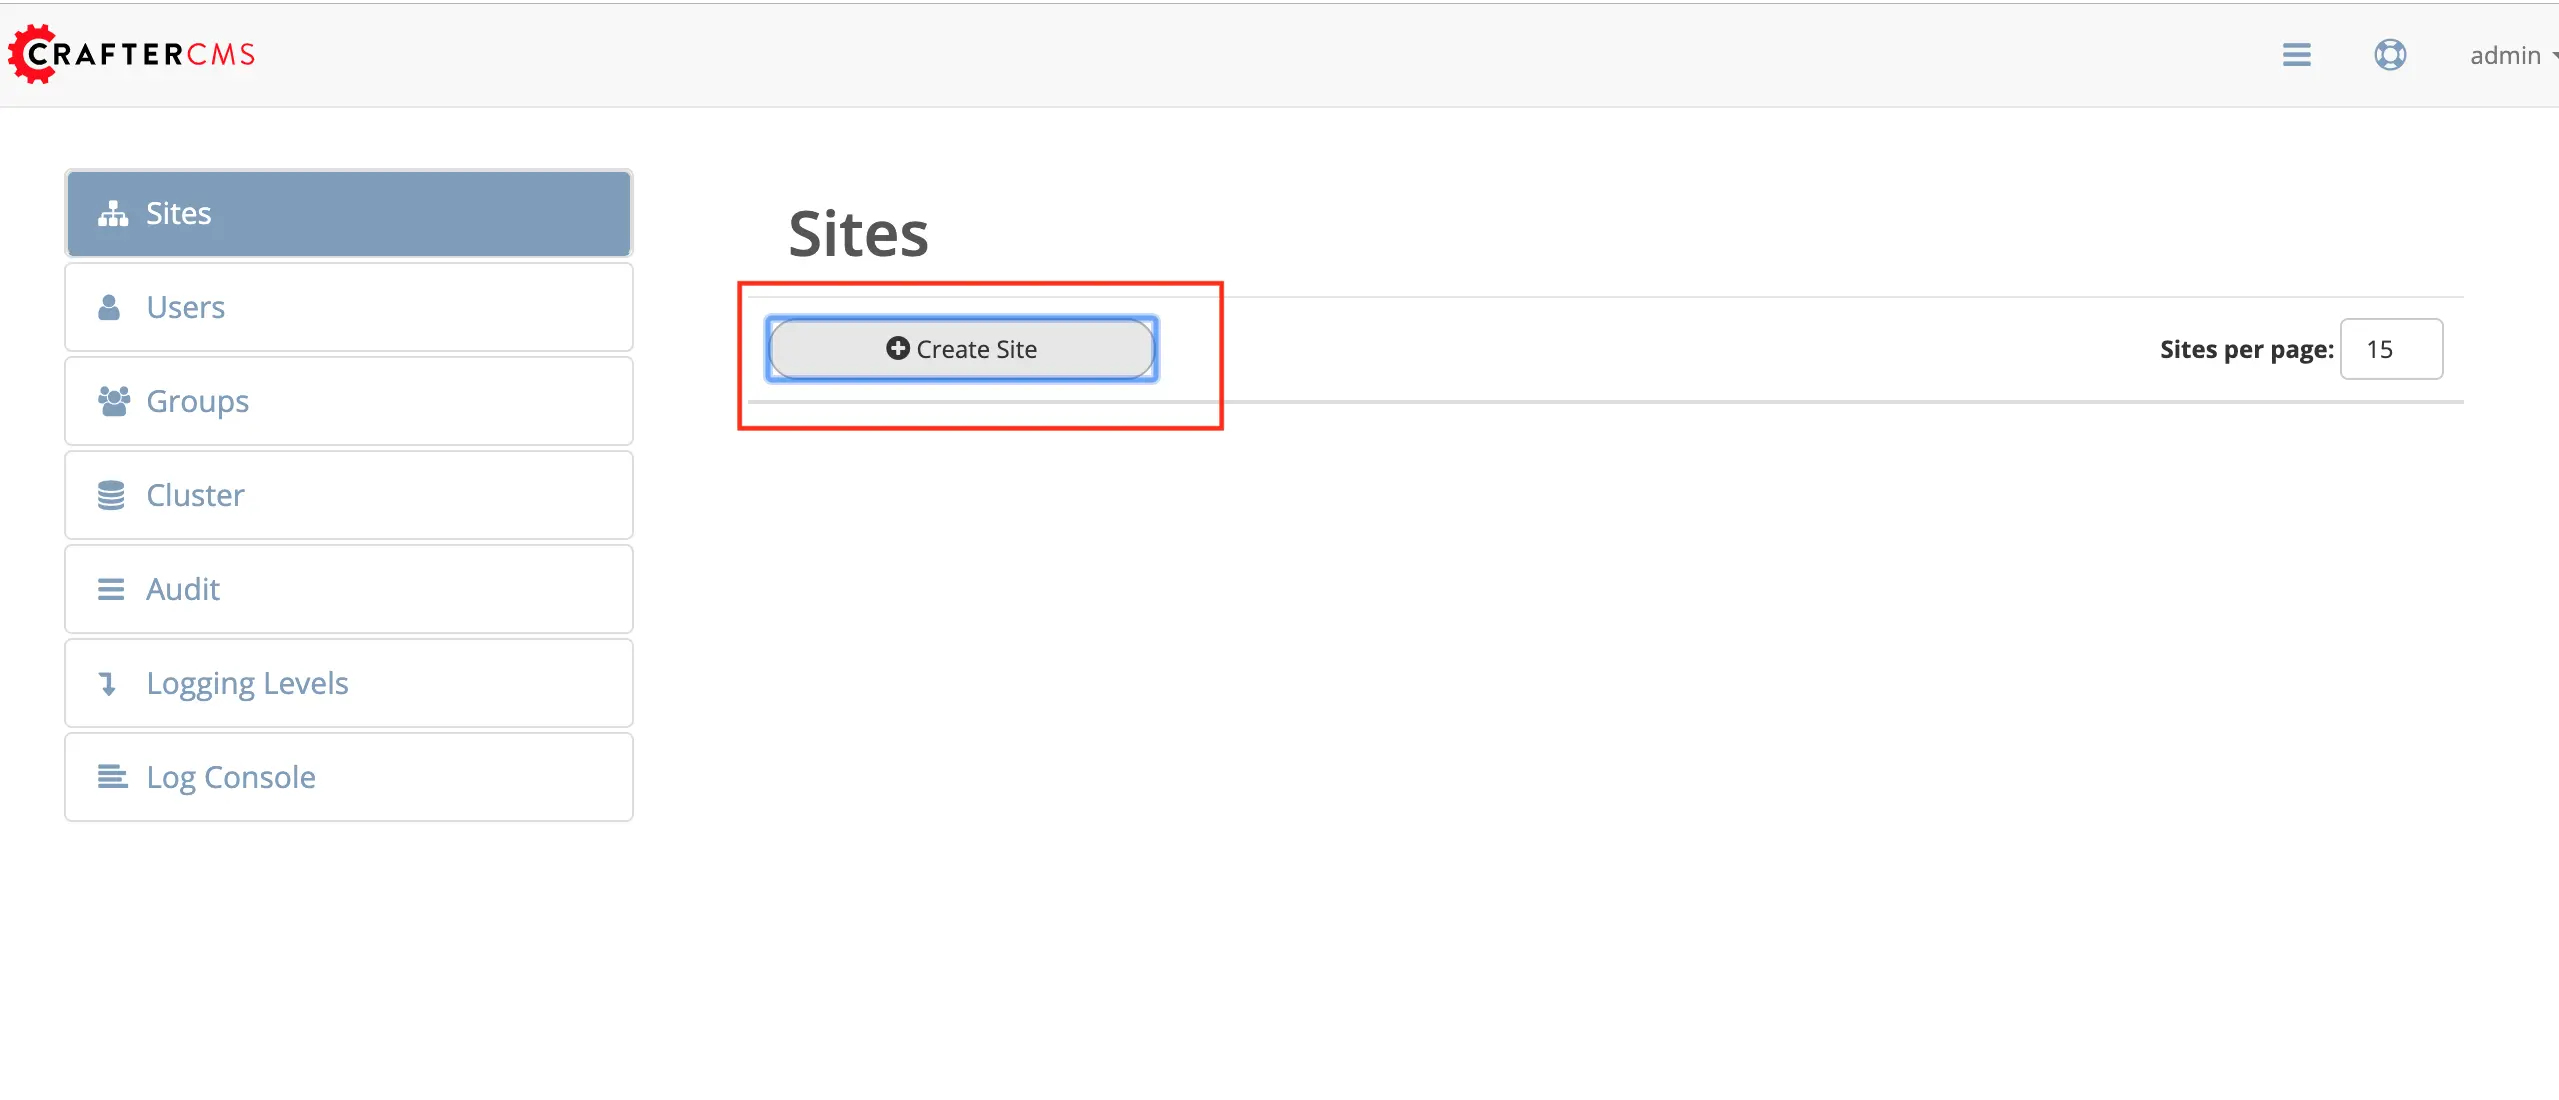
Step 4: Create a New Site
Once you have logged in to Crafter Studio, click Create Site.
 This will start a wizard that will enable you to create new project in Crafter Studio. You can choose from any of the available blueprints or point to an external Git repository.
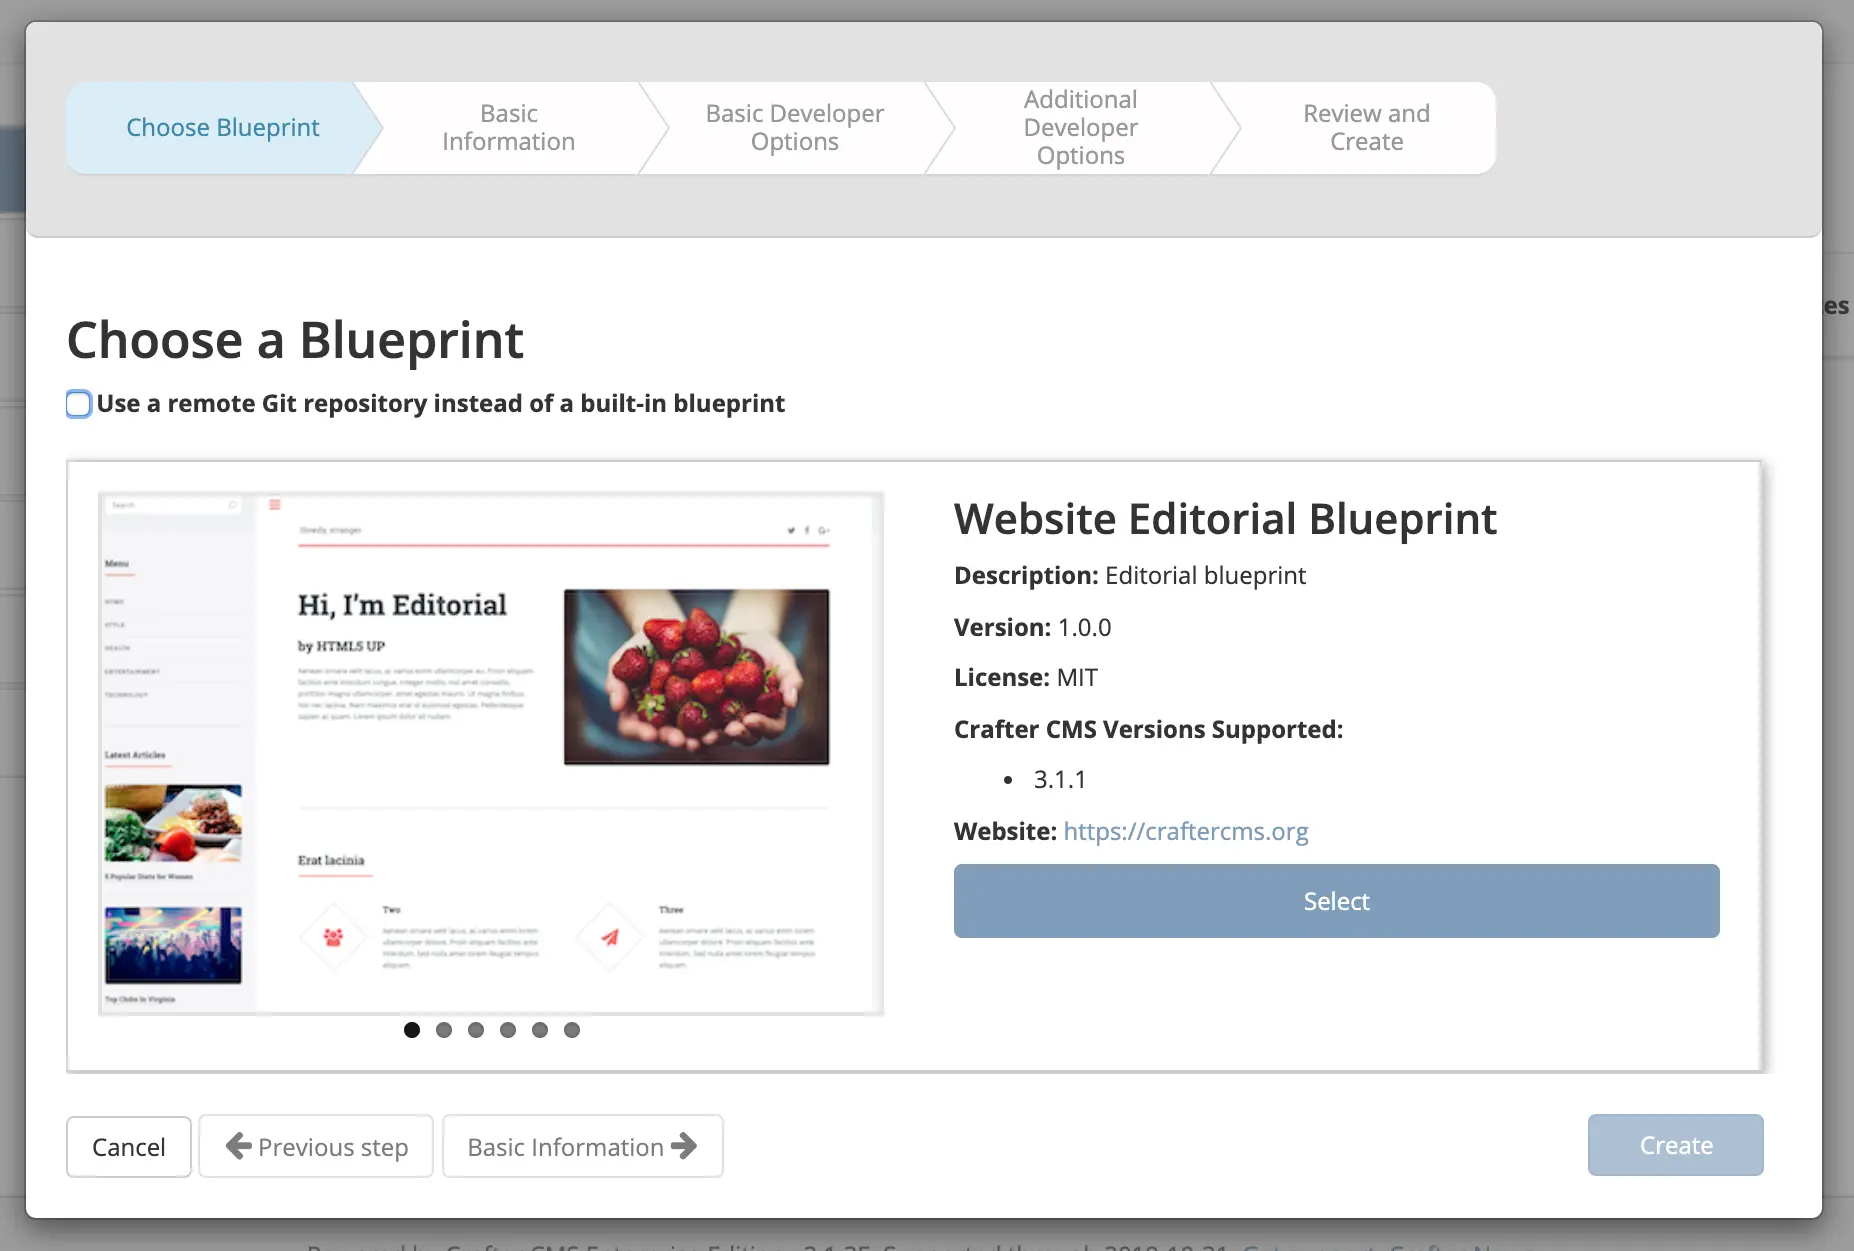
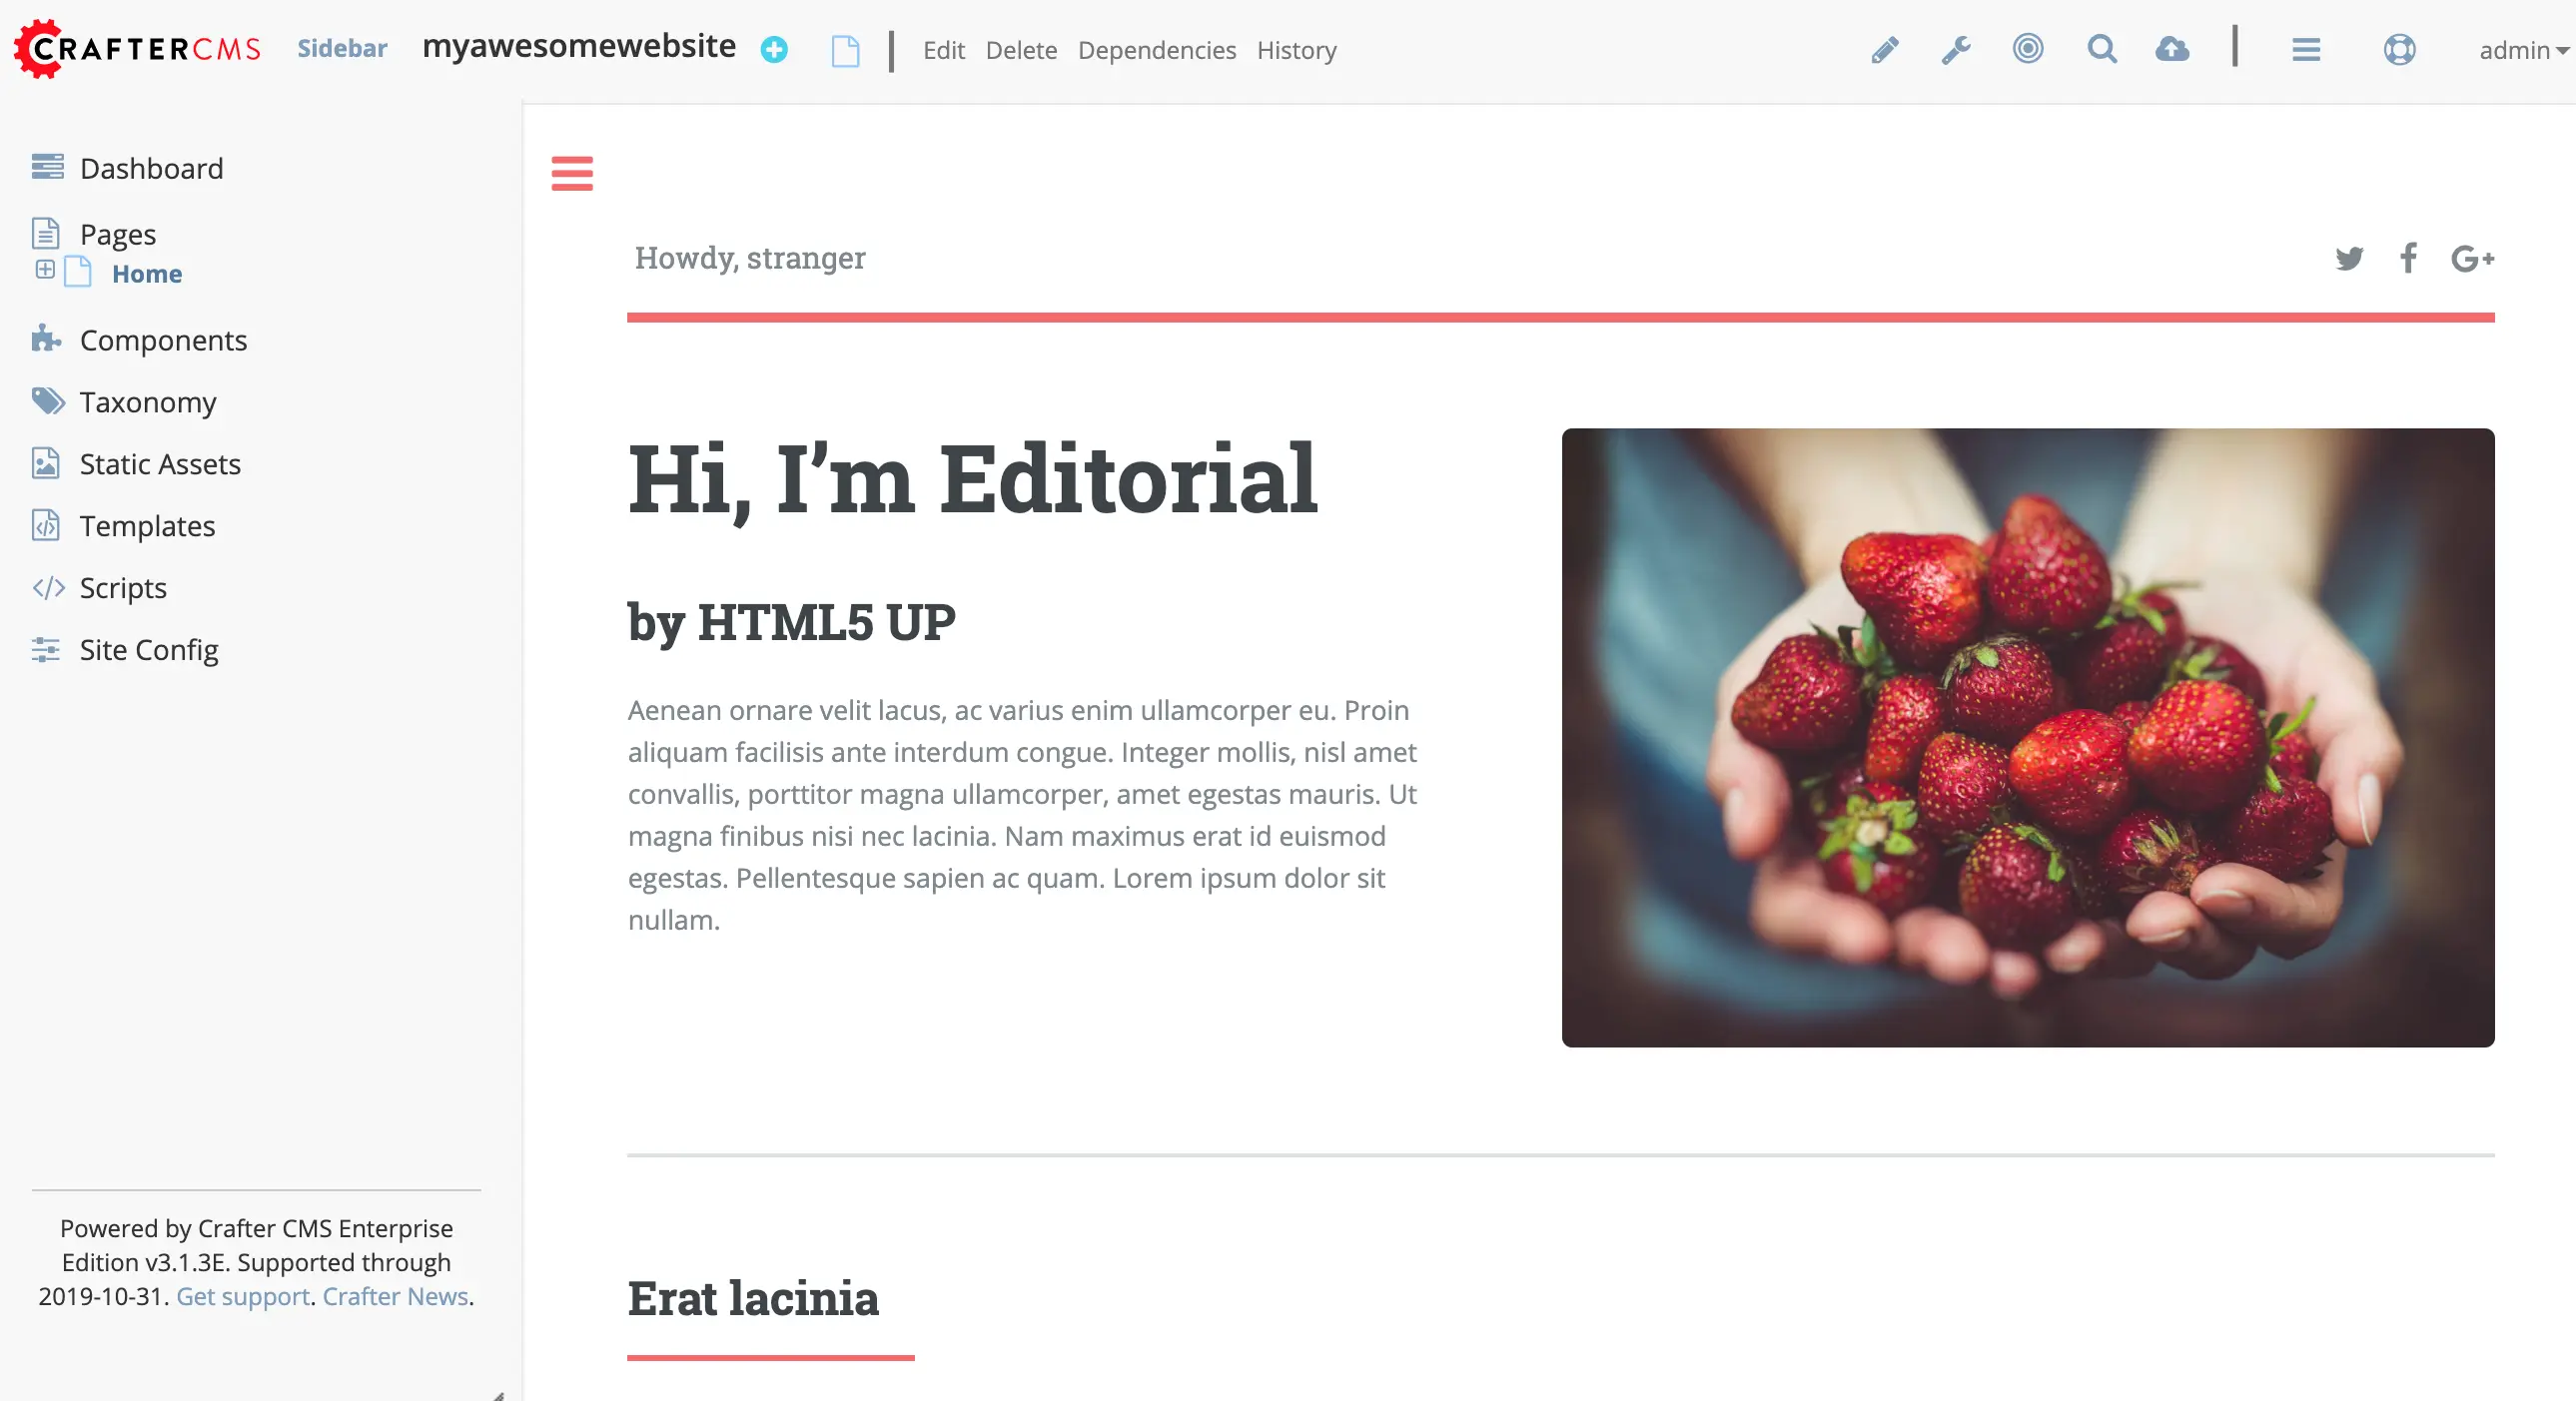
For the purpose of this tutorial you will create the a site called "myawesomewebsite" based on the Editorial blueprint.
To do this you can follow these steps here.
Once you complete the wizard, you will see your site in preview.
Step 5: Configure Delivery Server to Publish the New Site
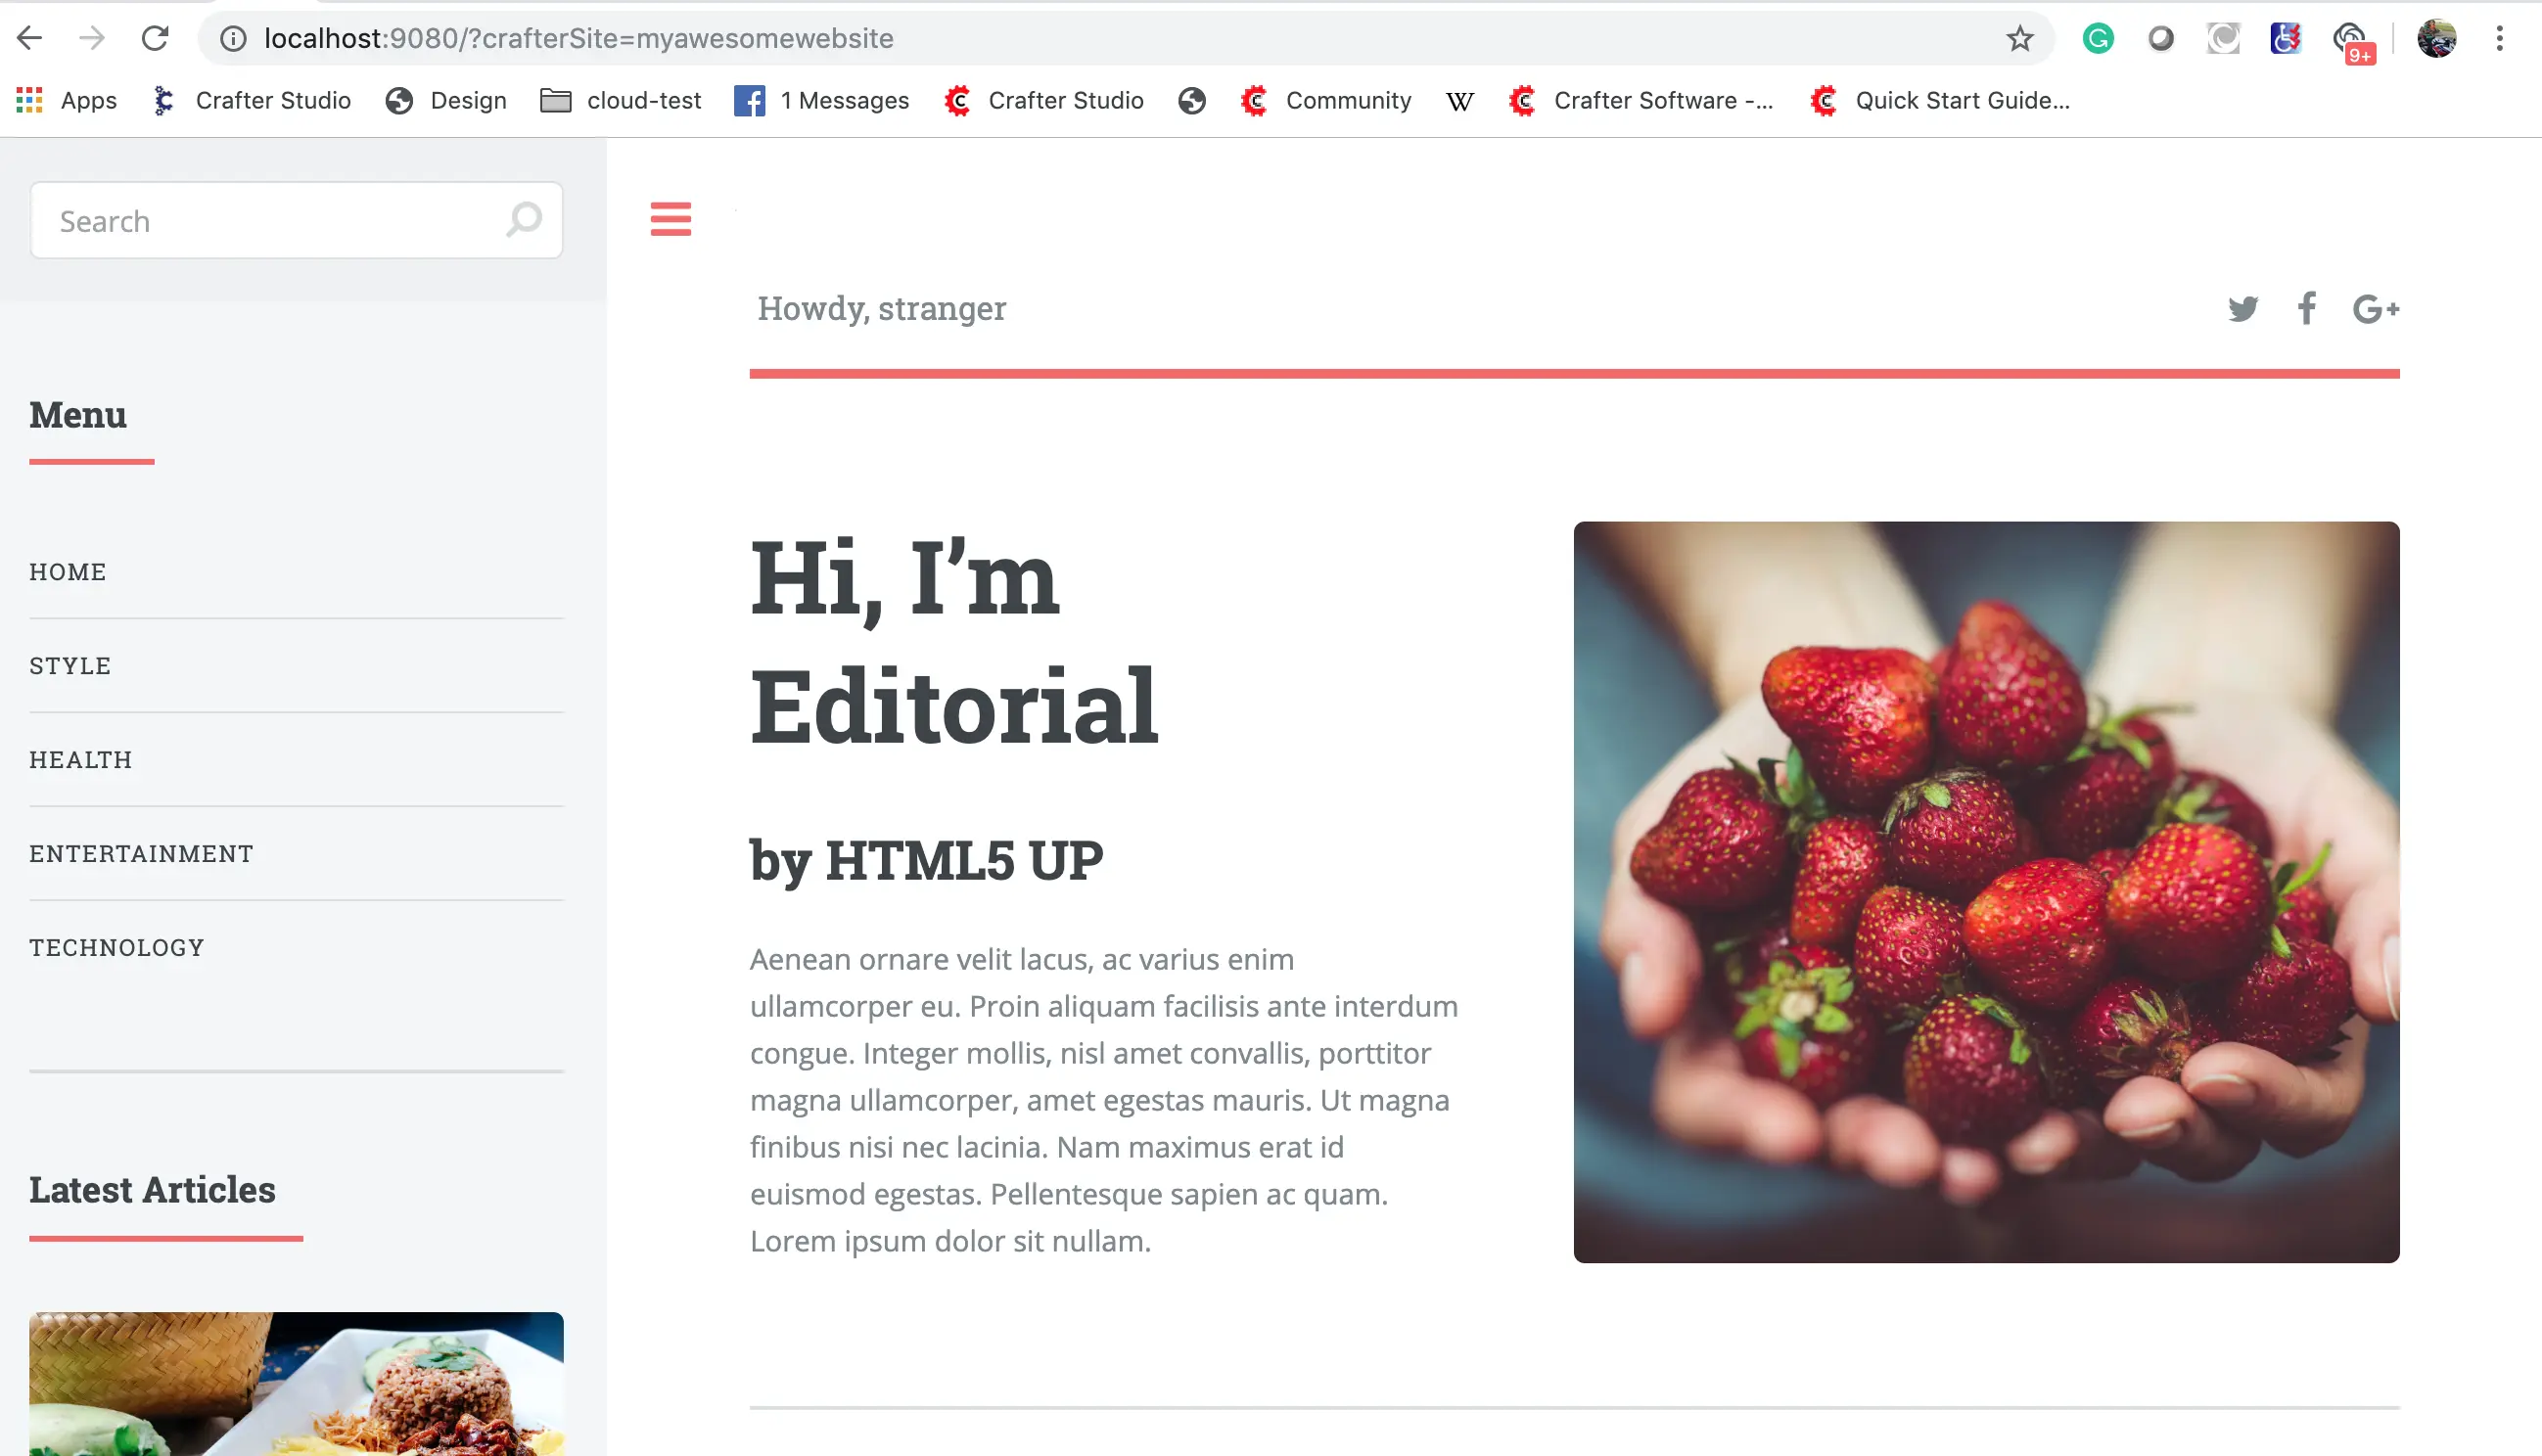
Now that we have a website in Crafter Studio that we can modify, we want to set up the delivery server to deliver the site.
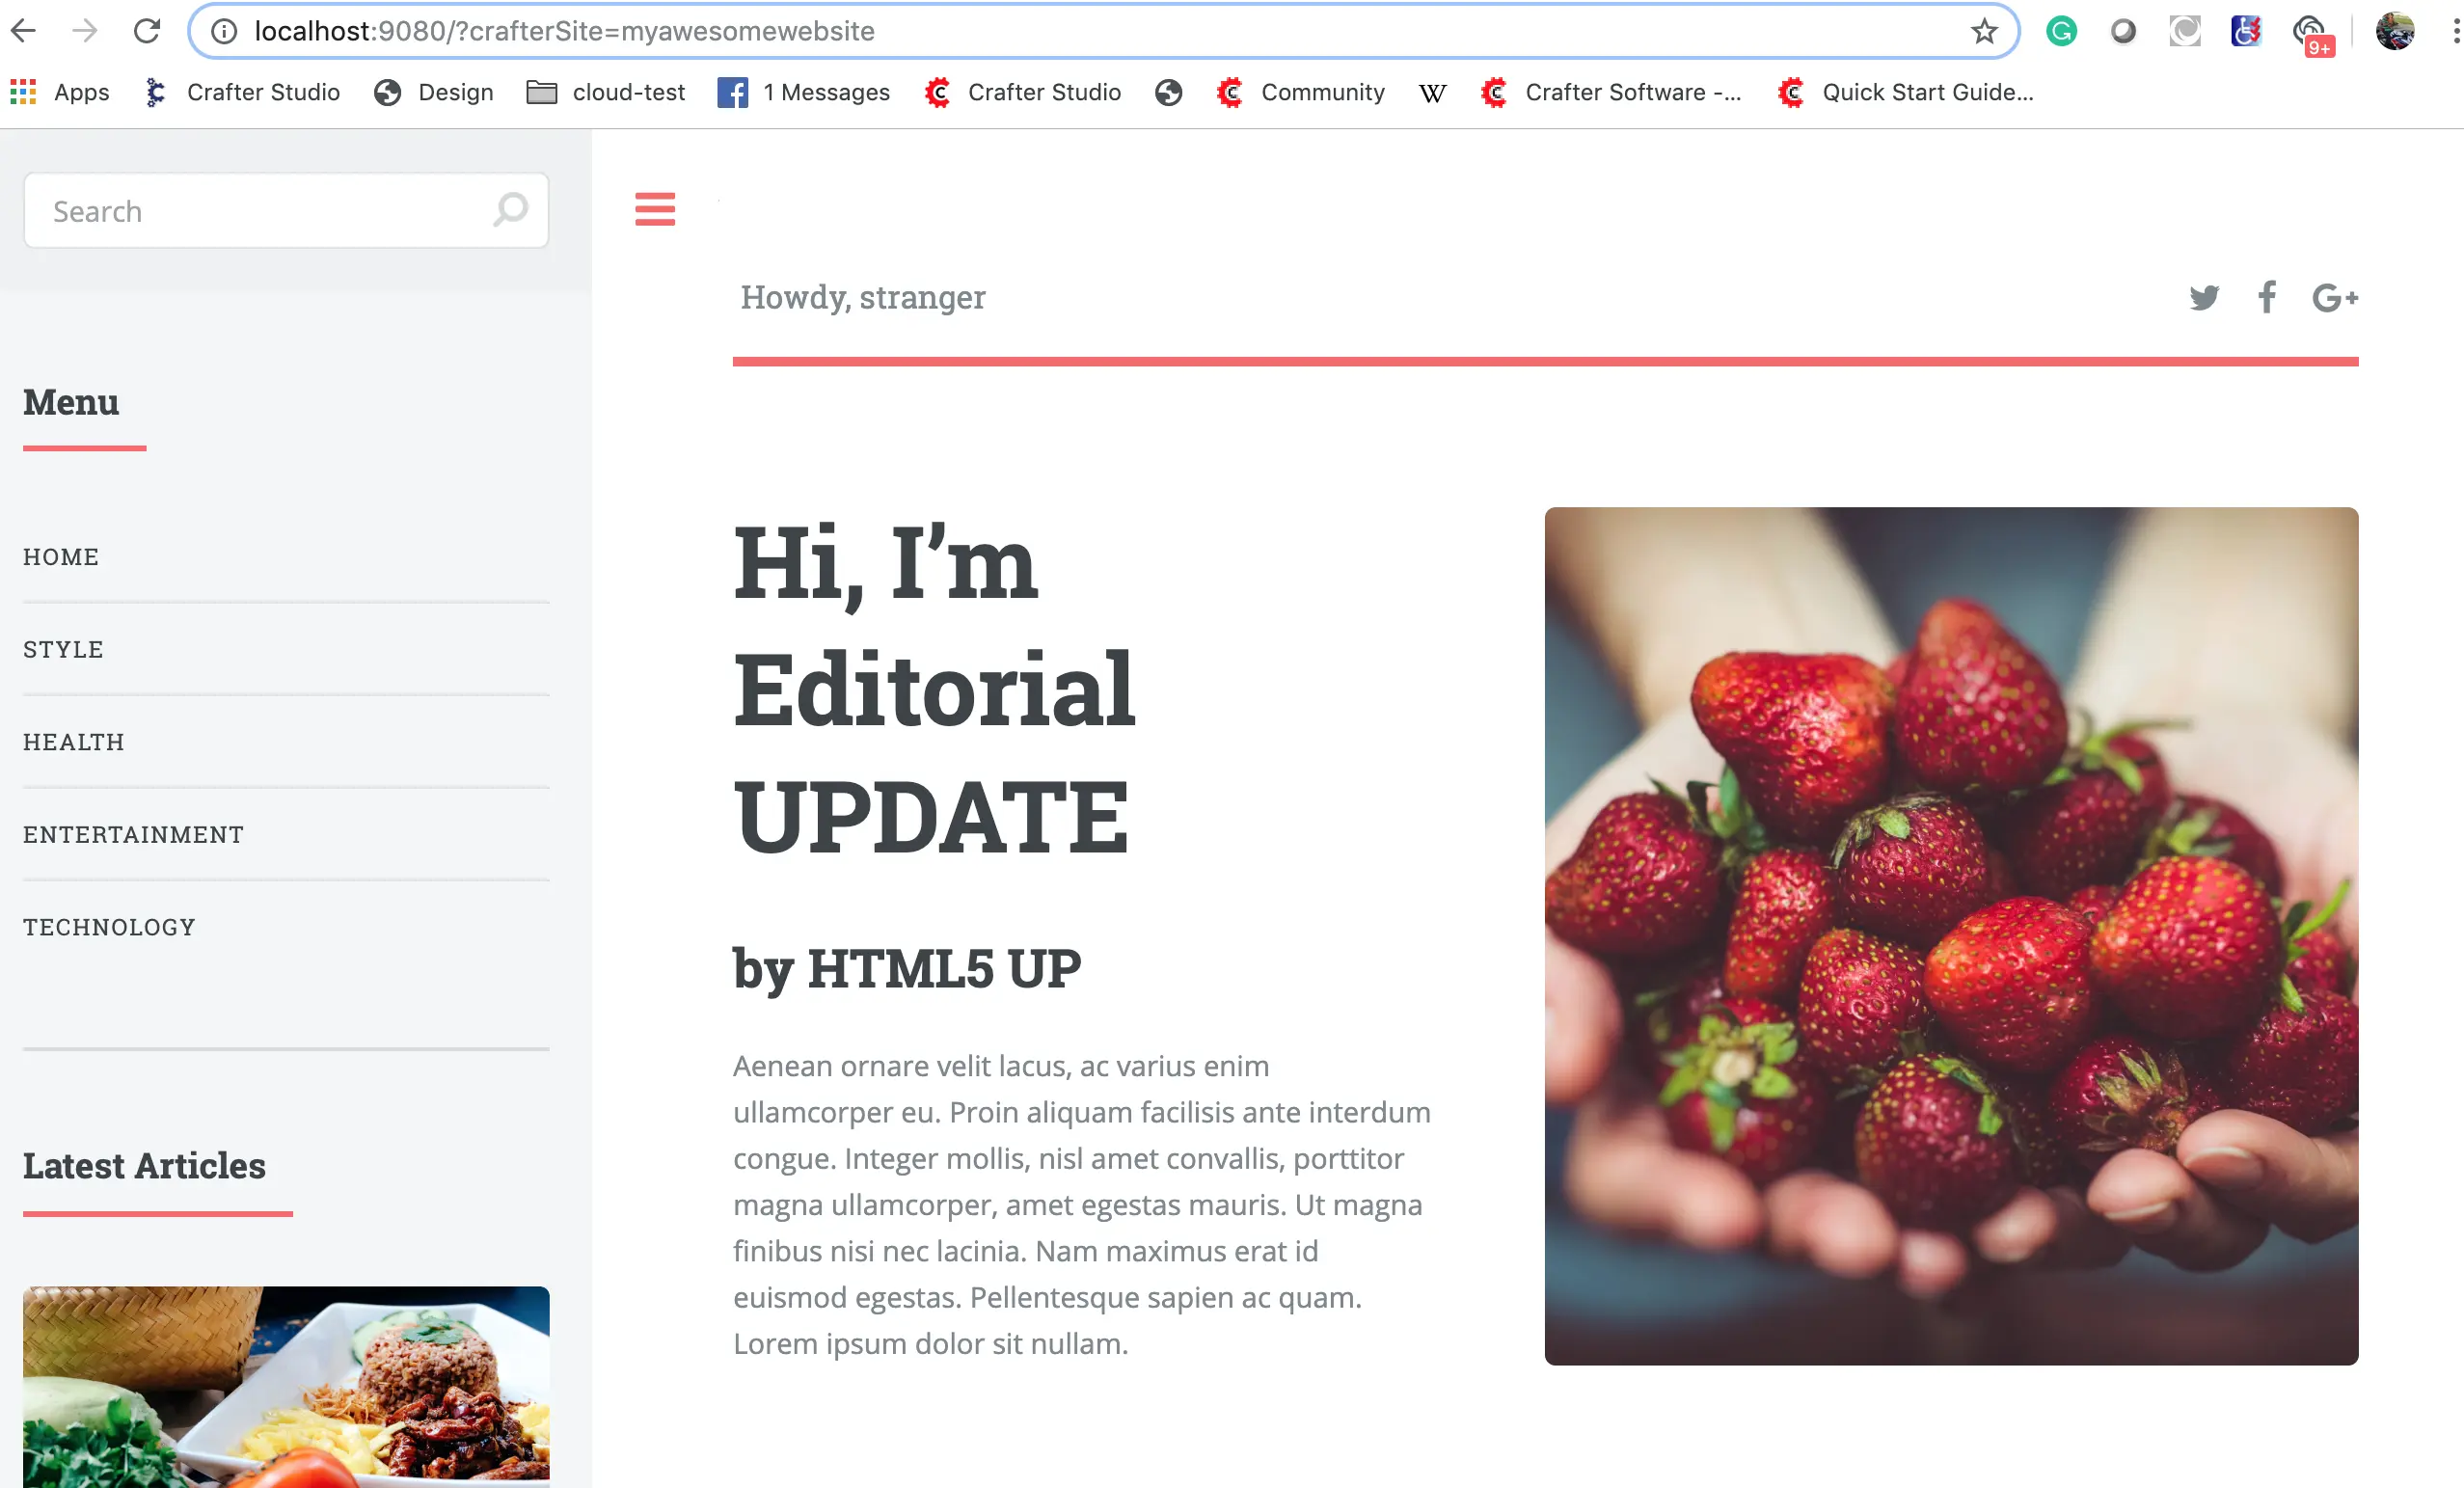
To test that our delivery server is working, but that we don't yet have it configured to deliver the published version of our site we can go to the following URL
http://<servername>:9080/?crafterSite=myawesomewebsite
If you are working locally you can use the following URL
http://localhost:9080/?crafterSite=myawesomewebsite
At the moment this will result in an error page. We have not yet initialized the site on the delivery server. Let's do that now.
In a console, in your installation directory, execute the following command:
./delivery/crafter/bin/init-site.sh [options] <site> [repo-path]
For our install this will look like the following
./delivery/crafter/bin/init-site.sh -b live myawesomewebsite /Users/rdanner/Desktop/craftercms/authoring/crafter/data/repos/sites/myawesomewebsite/published
Tip: It's a best practice to give the full path to the published respository for the site you are initializing as show above.

Now that we've initialized the site on the delivery system we can visit the delivery URL and see the site. Open a browser and go to your delivery URL.
Example:
http://localhost:9080/?crafterSite=myawesomewebsite
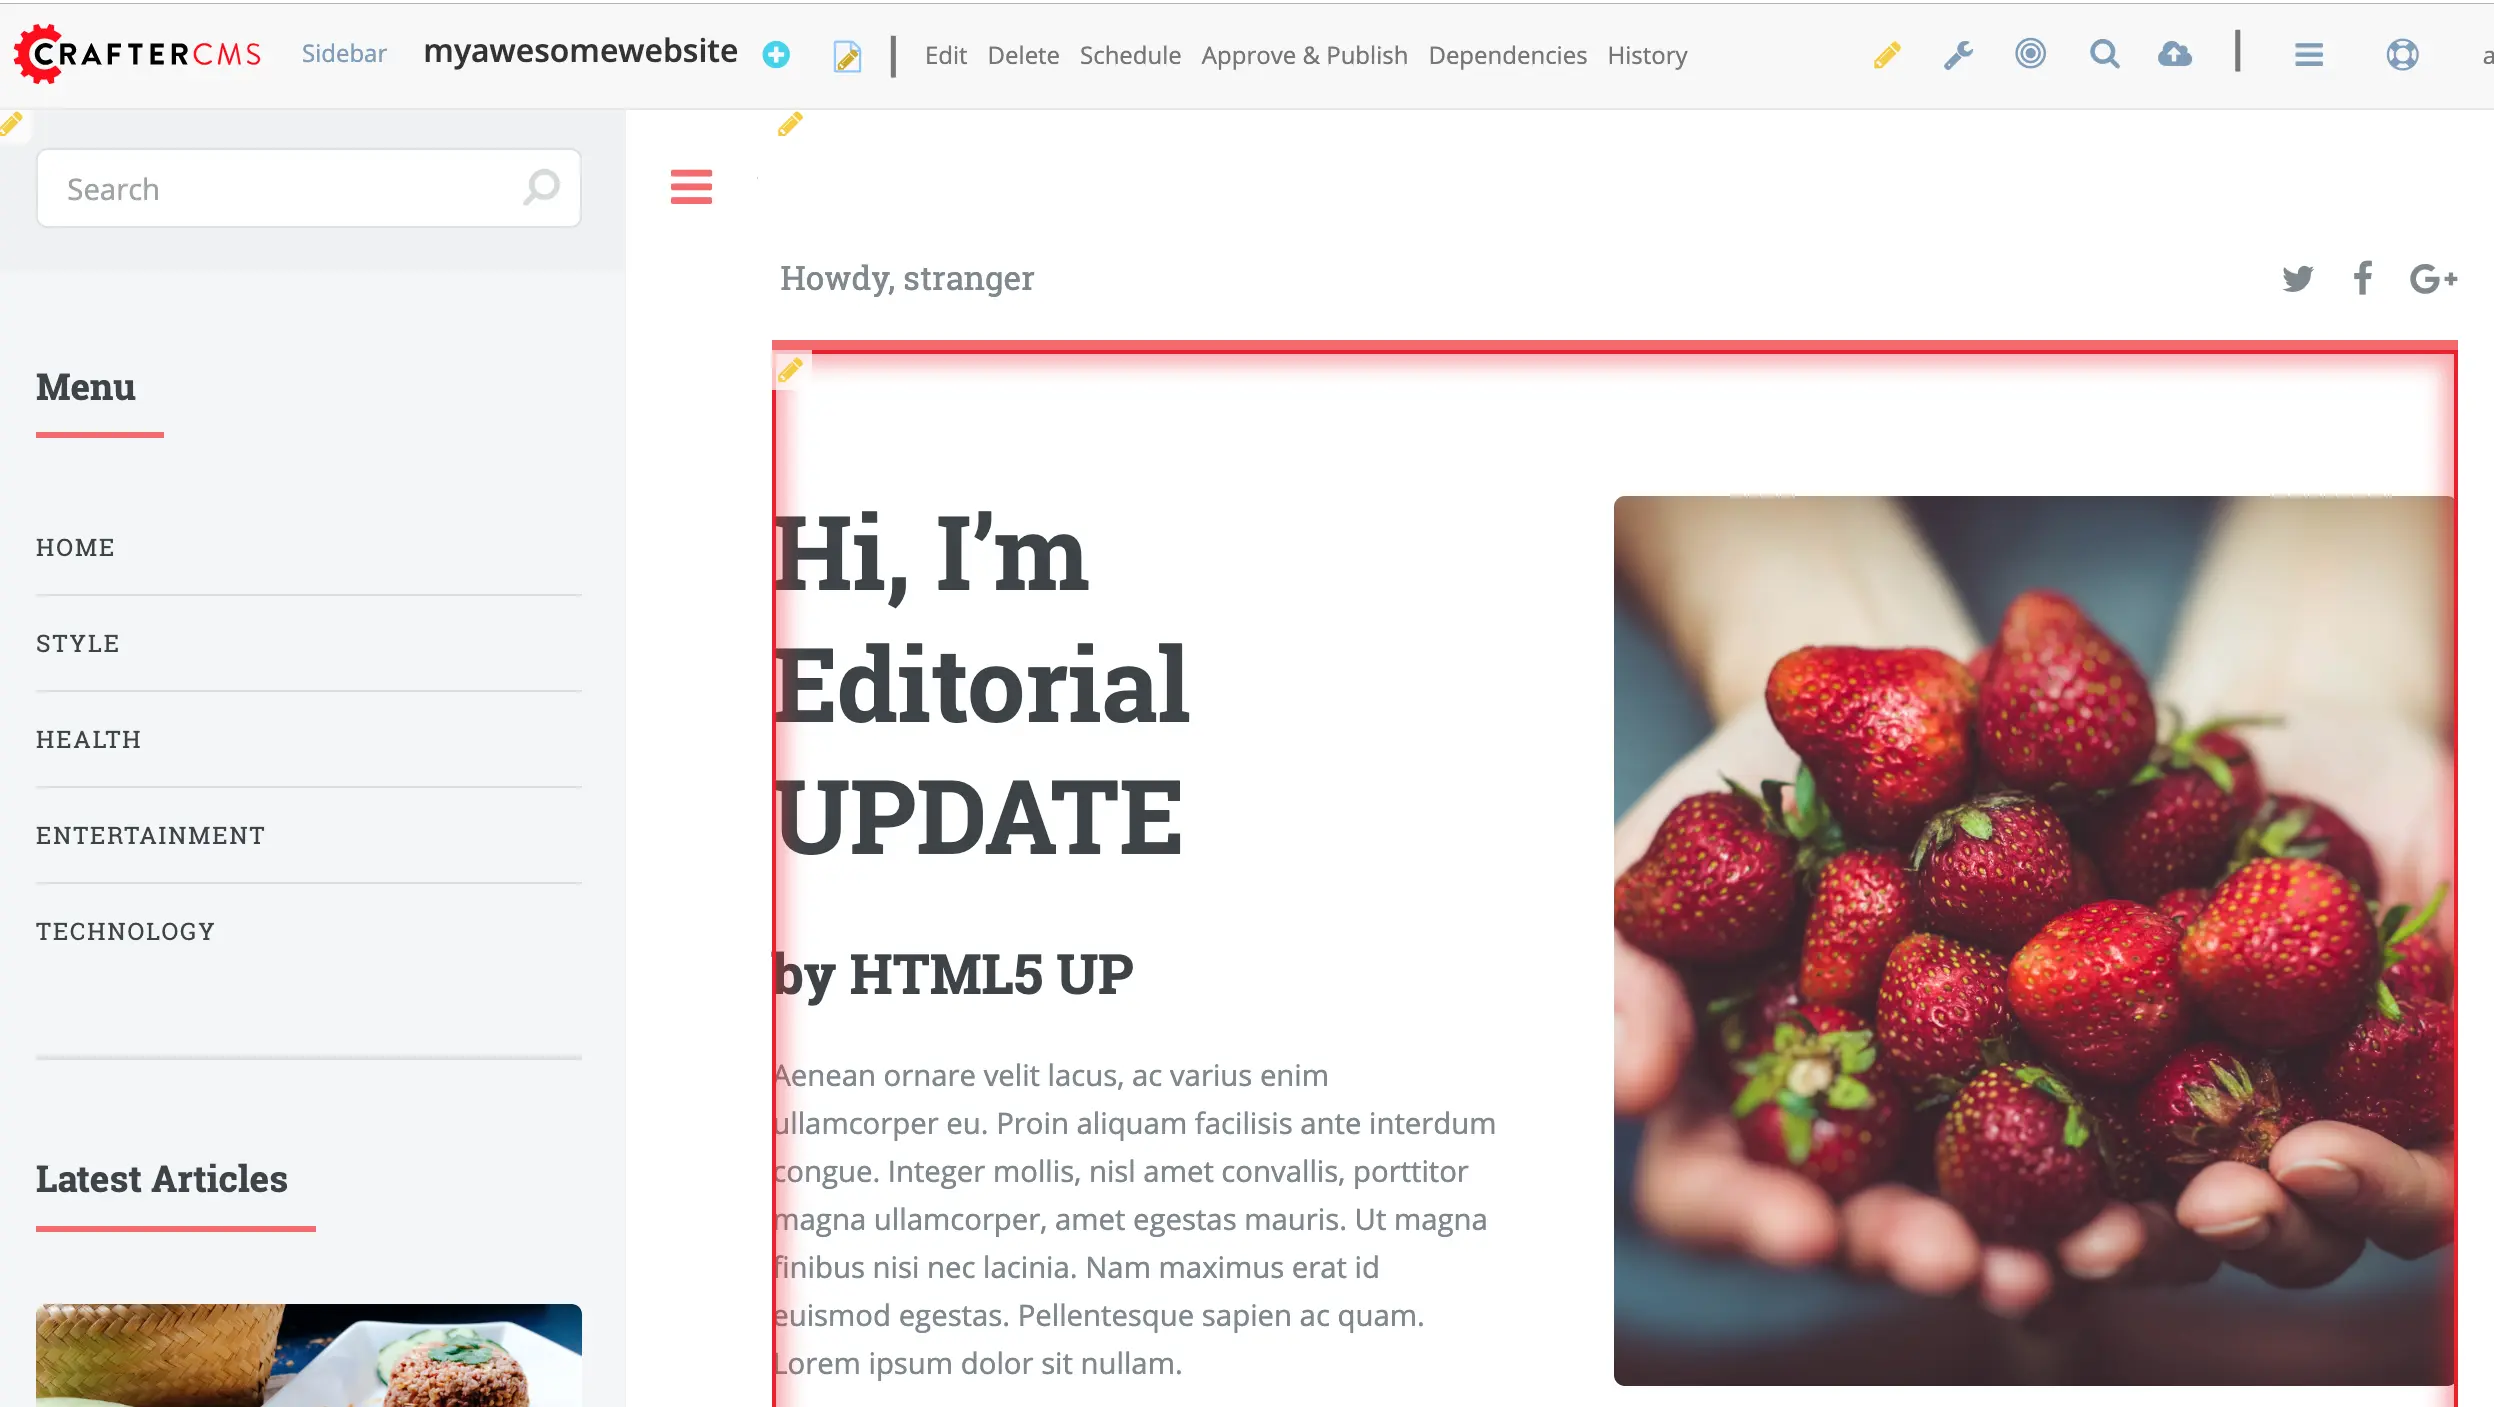
Step 6: Test Publishing
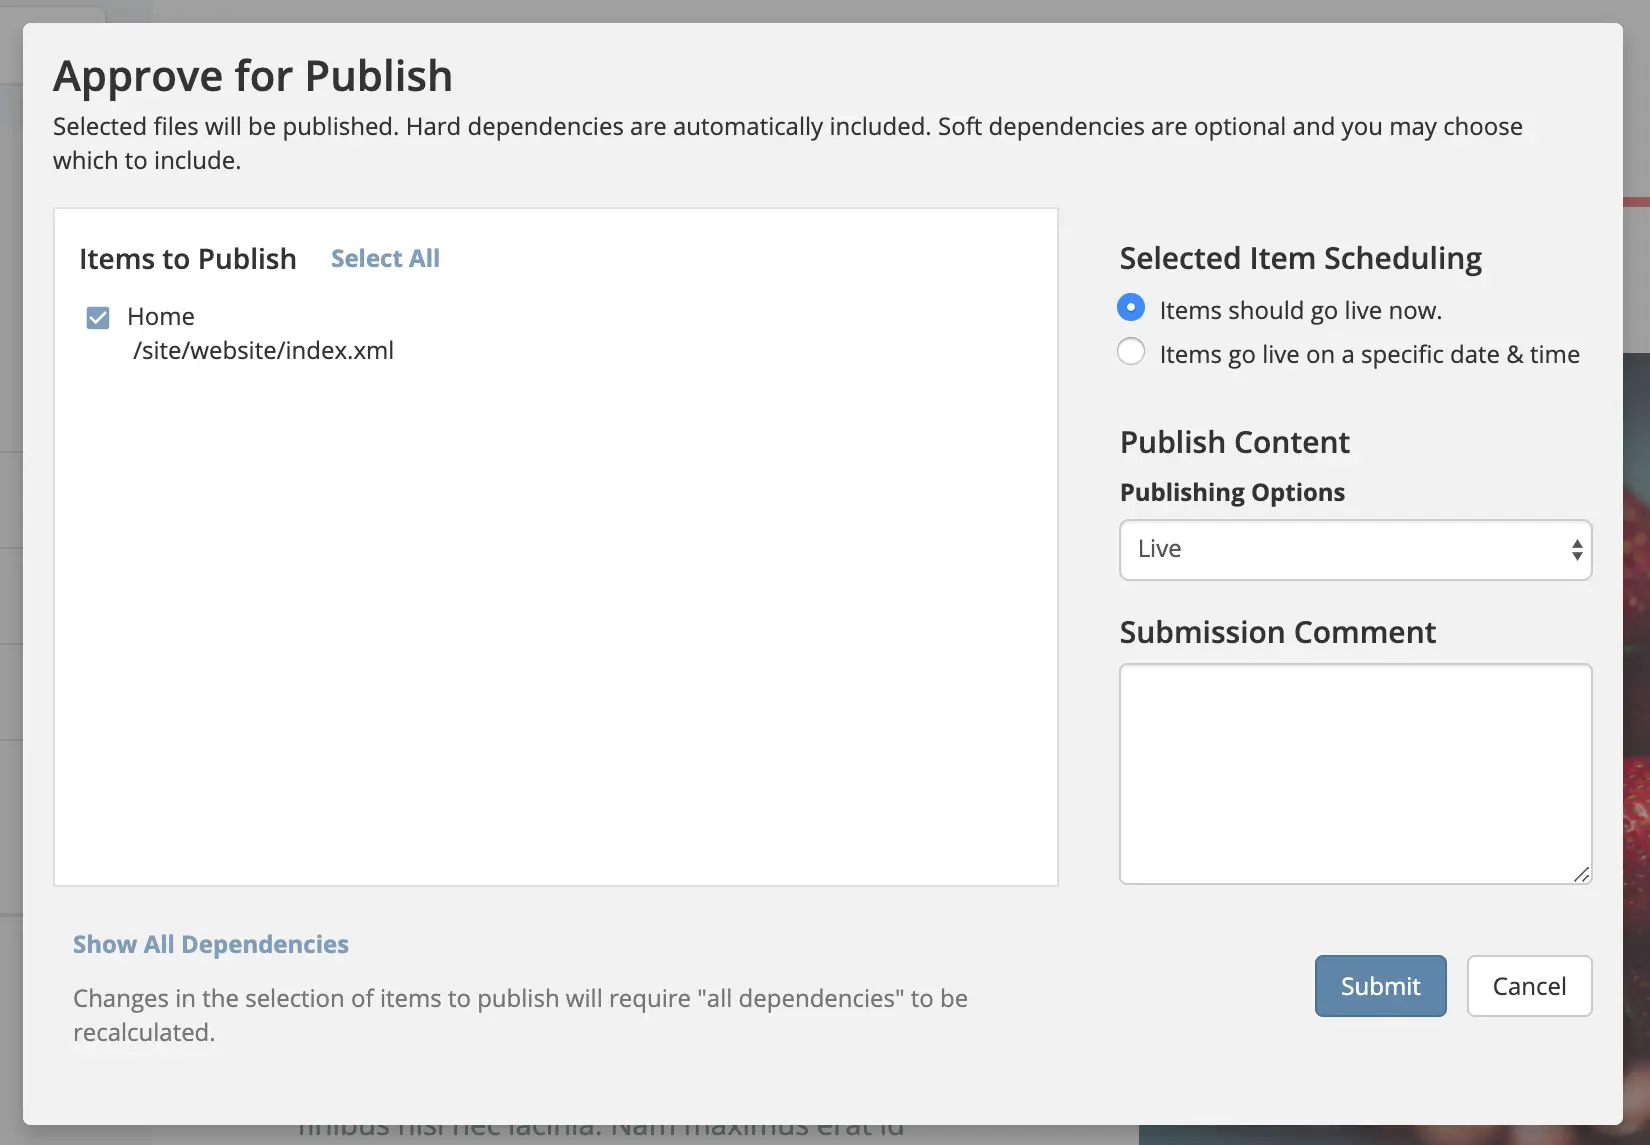
Following the guide found here, make an edit to your site in the authoring tools, Crafter Studio and approve a publish. Soon after you can refresh your delivery tool and you will see the updated content.
Step 7: Build the Next Amazing Digital Experience!
Congratulations, you did it! That's really all there is to it. Now that you've got your installation up and running and you have set up publishing, your can create as many websites and digital experiences as you like. Make something amazing!